Send your first email
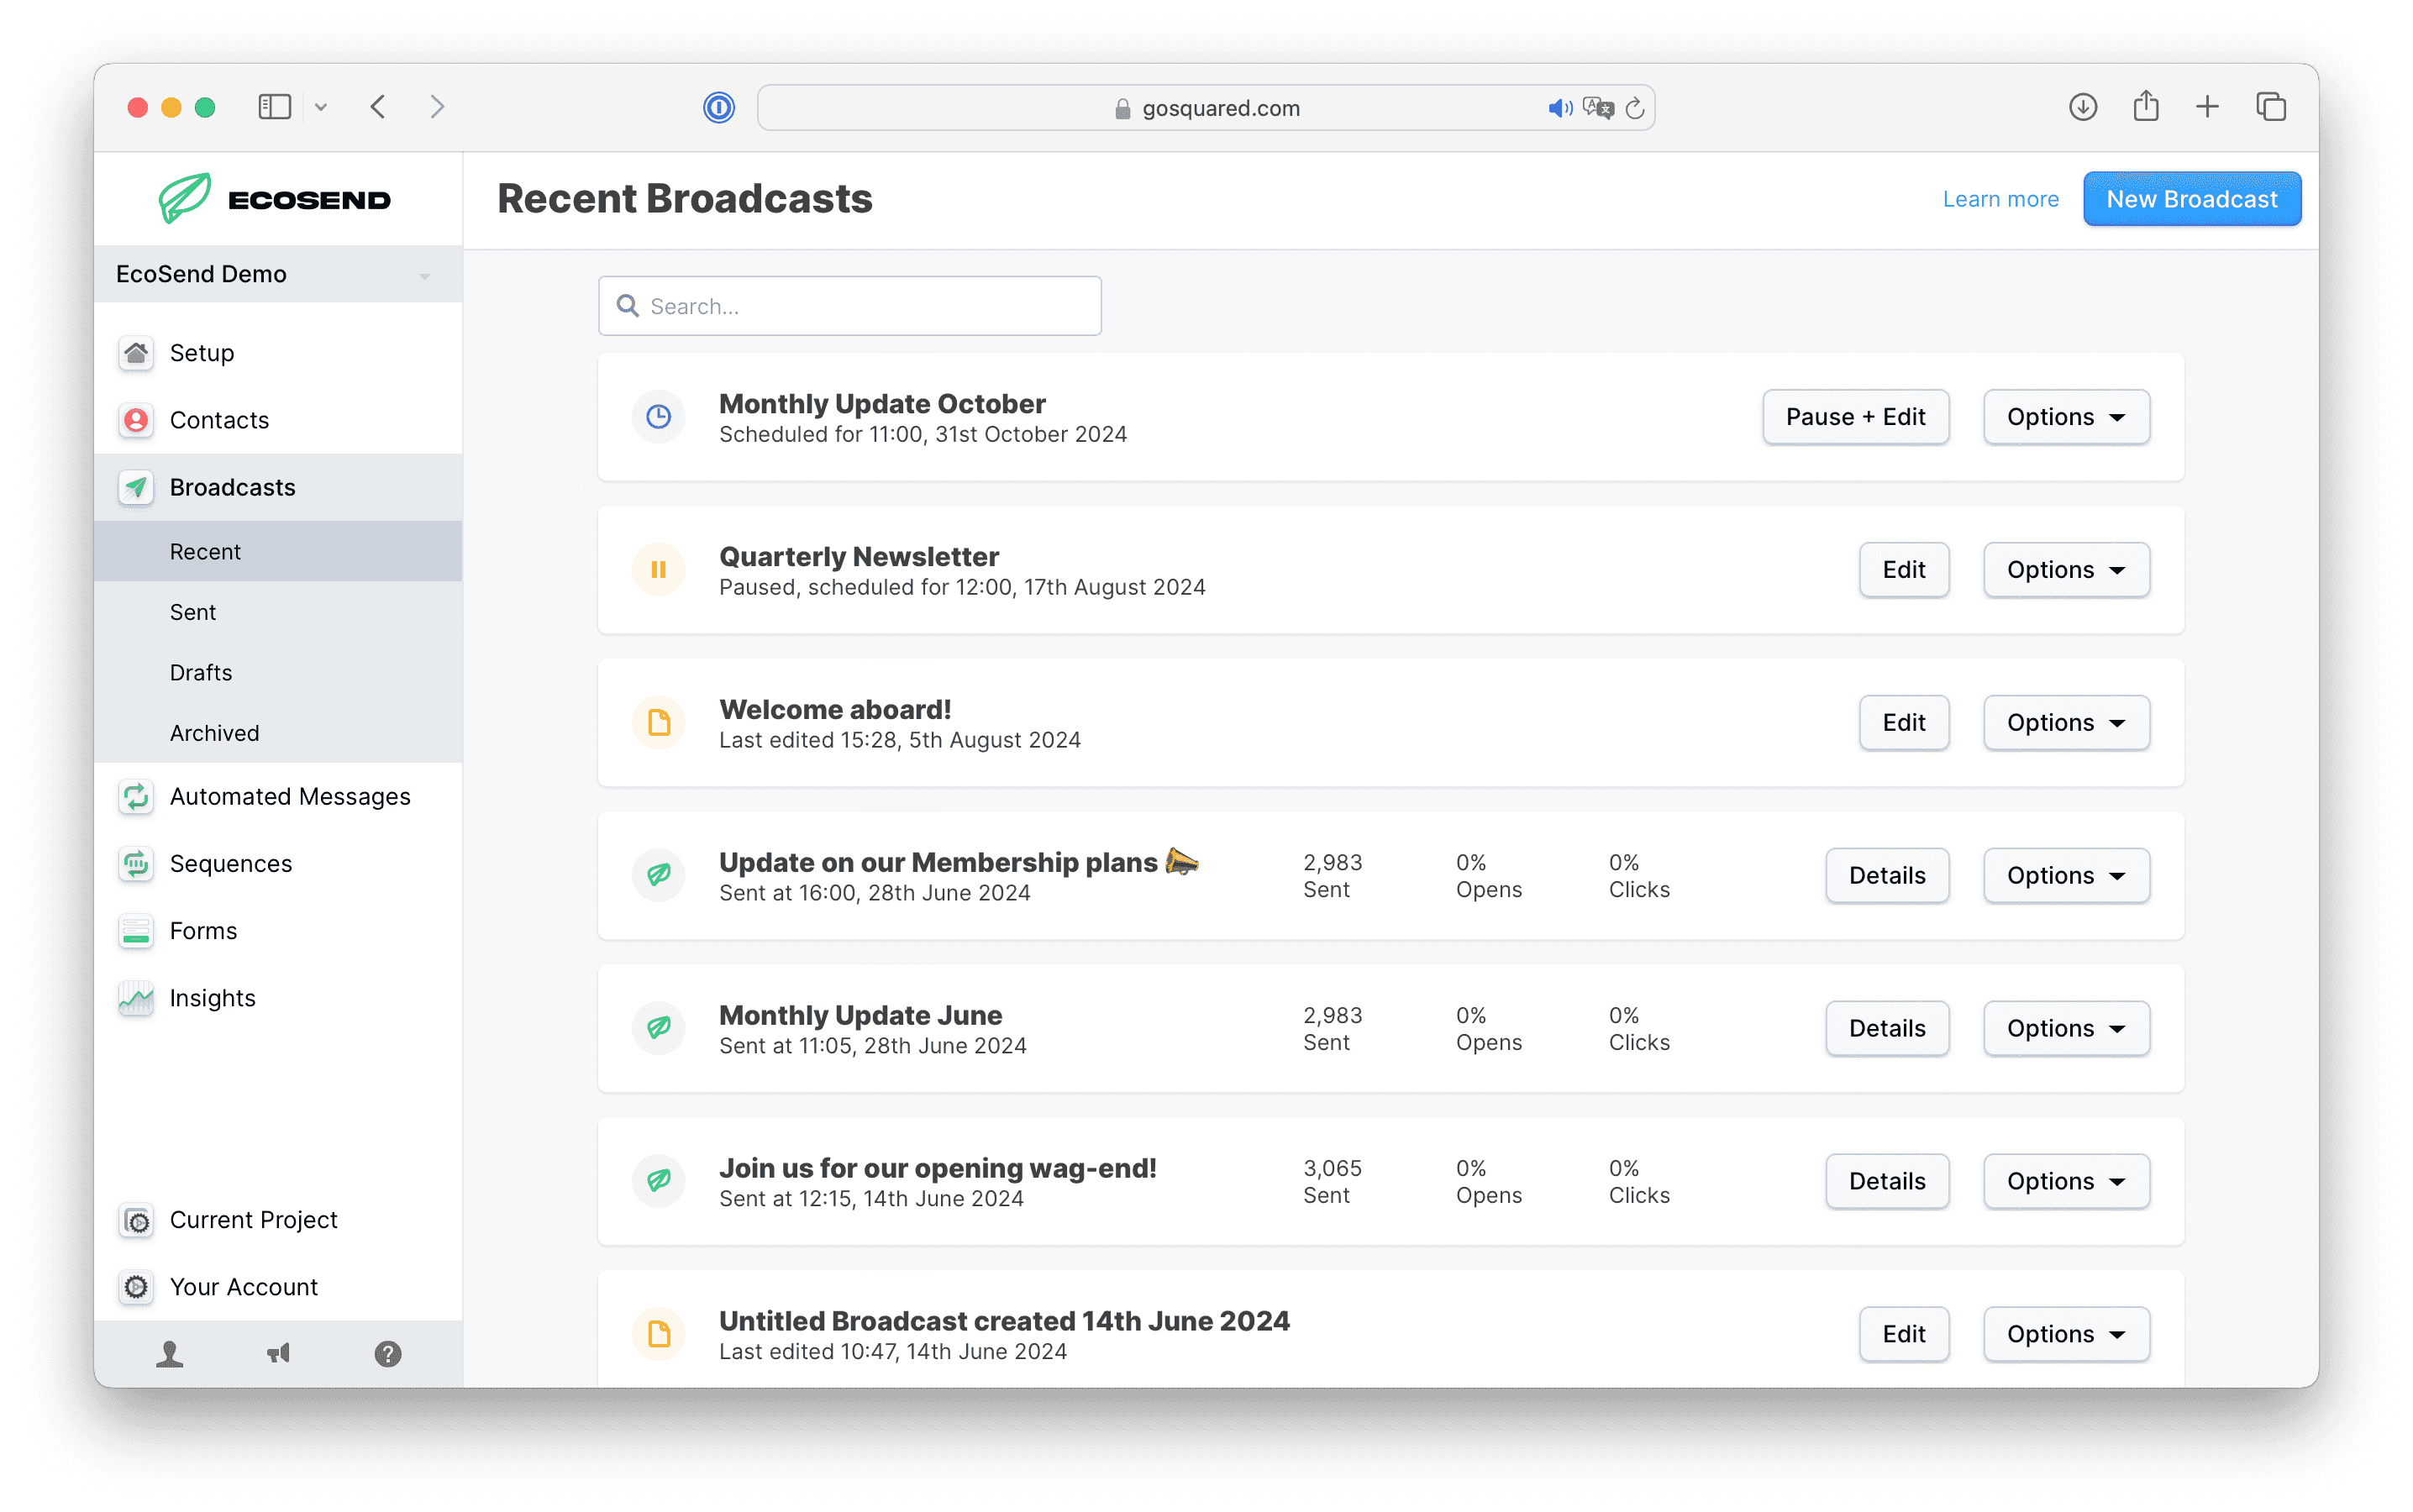
To send an email to your audience with EcoSend, create a Broadcast — the most popular type of campaign almost every user sends.
You might previously have called a Broadcast a newsletter, a "mailshot", or a campaign. It's the same basic concept: you're sending an email to a bunch of people at once.
Select your Broadcast option
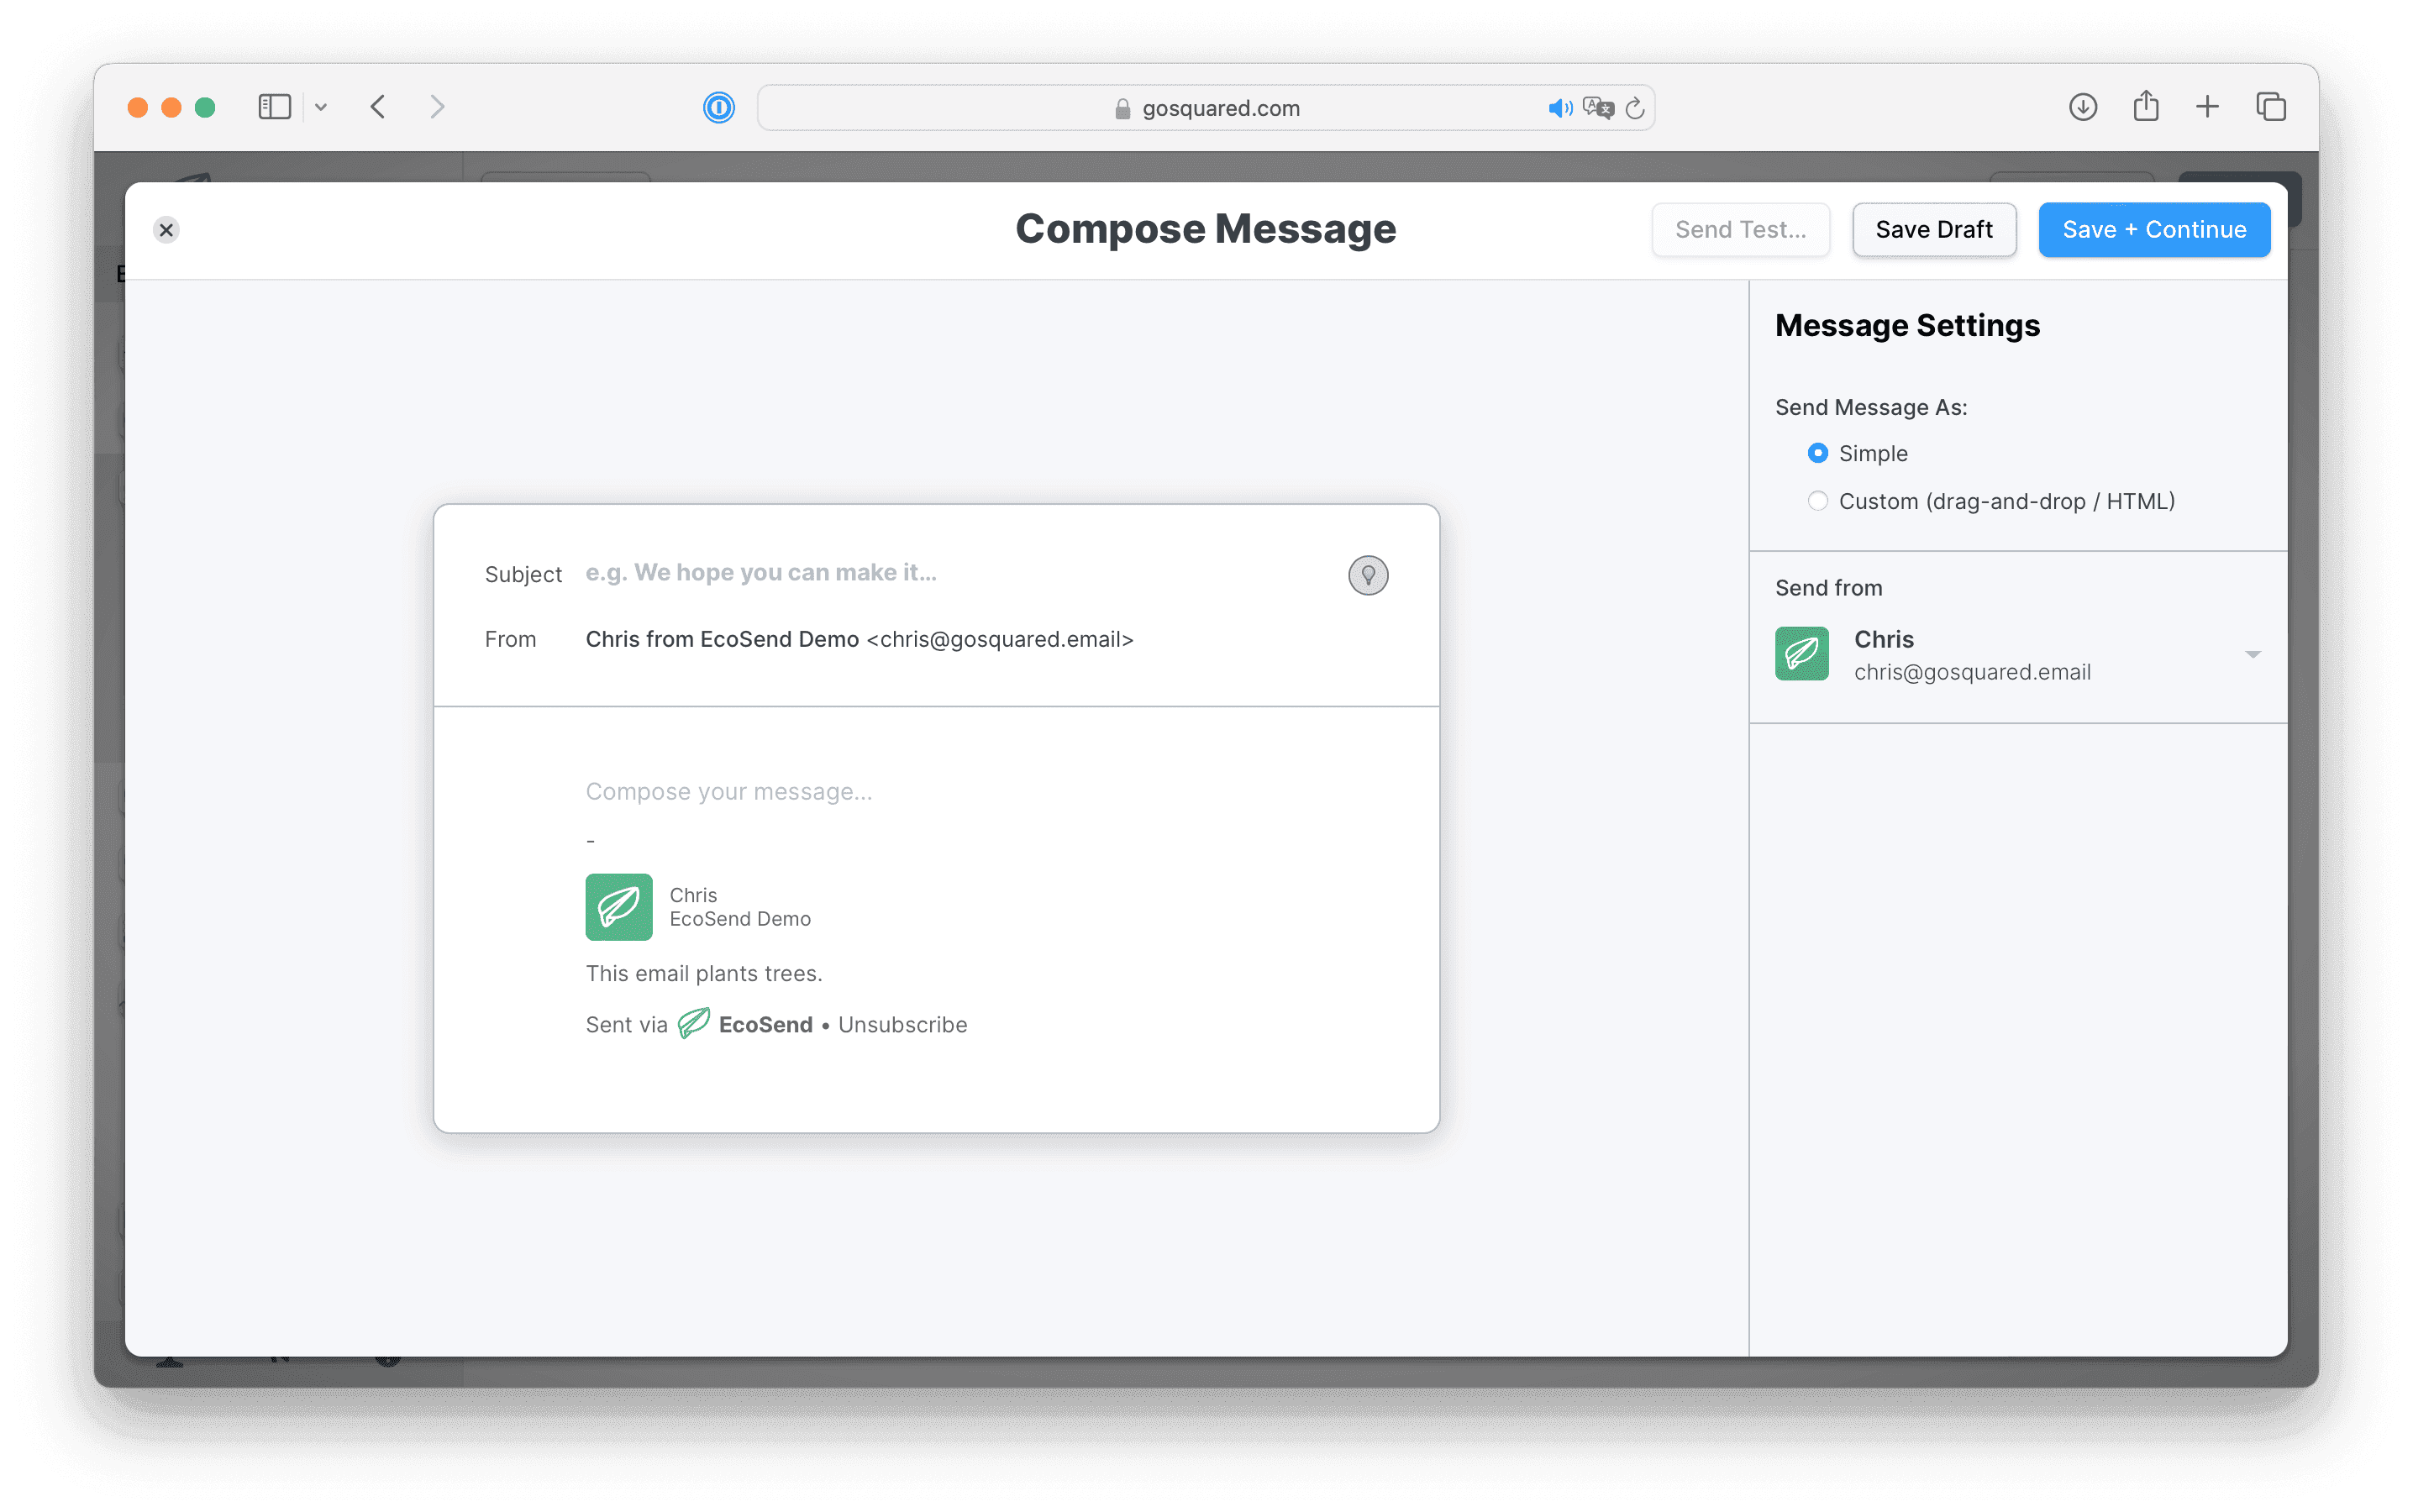
With EcoSend, you have multiple options for sending out your message:
- Drag-and-Drop email builder
- Simple email
- HTML code your own
These options are important, as you want to meet your users where they are to ensure maximum engagement.
If you’re sending a detailed Broadcast, such as a Newsletter, or you are attempting to re-engage an inactive segment of your user-base, send a Simple or HTML email for best engagement.
Personalise your messages
Variables are a flexible and powerful way to personalise your messages at scale.
The more properties and events you track against your contacts the more options you’ll have for personalising your messages.
Examples of Variables:
- Address your contacts by their first name.
- Mention the current plan a customer is currently on.
- Thank customers for their loyalty one year after their sign up date.
- Notify customers of their current usage levels – e.g. “So far you’ve added 200 photos.
Click here for our full guide for personalising EcoSend campaigns.
Send HTML via Visual Editor
Want to craft aesthetic, impressive HTML emails to engage your customers?
Don’t know how to write HTML?
No code, no problem!
Use the EcoSend Visual Builder to create beautiful and orderly HTML emails, without having to know a single line of HTML!
With our drag & drop template editor you can create HTML emails in minutes, ready to send out to engage your users.
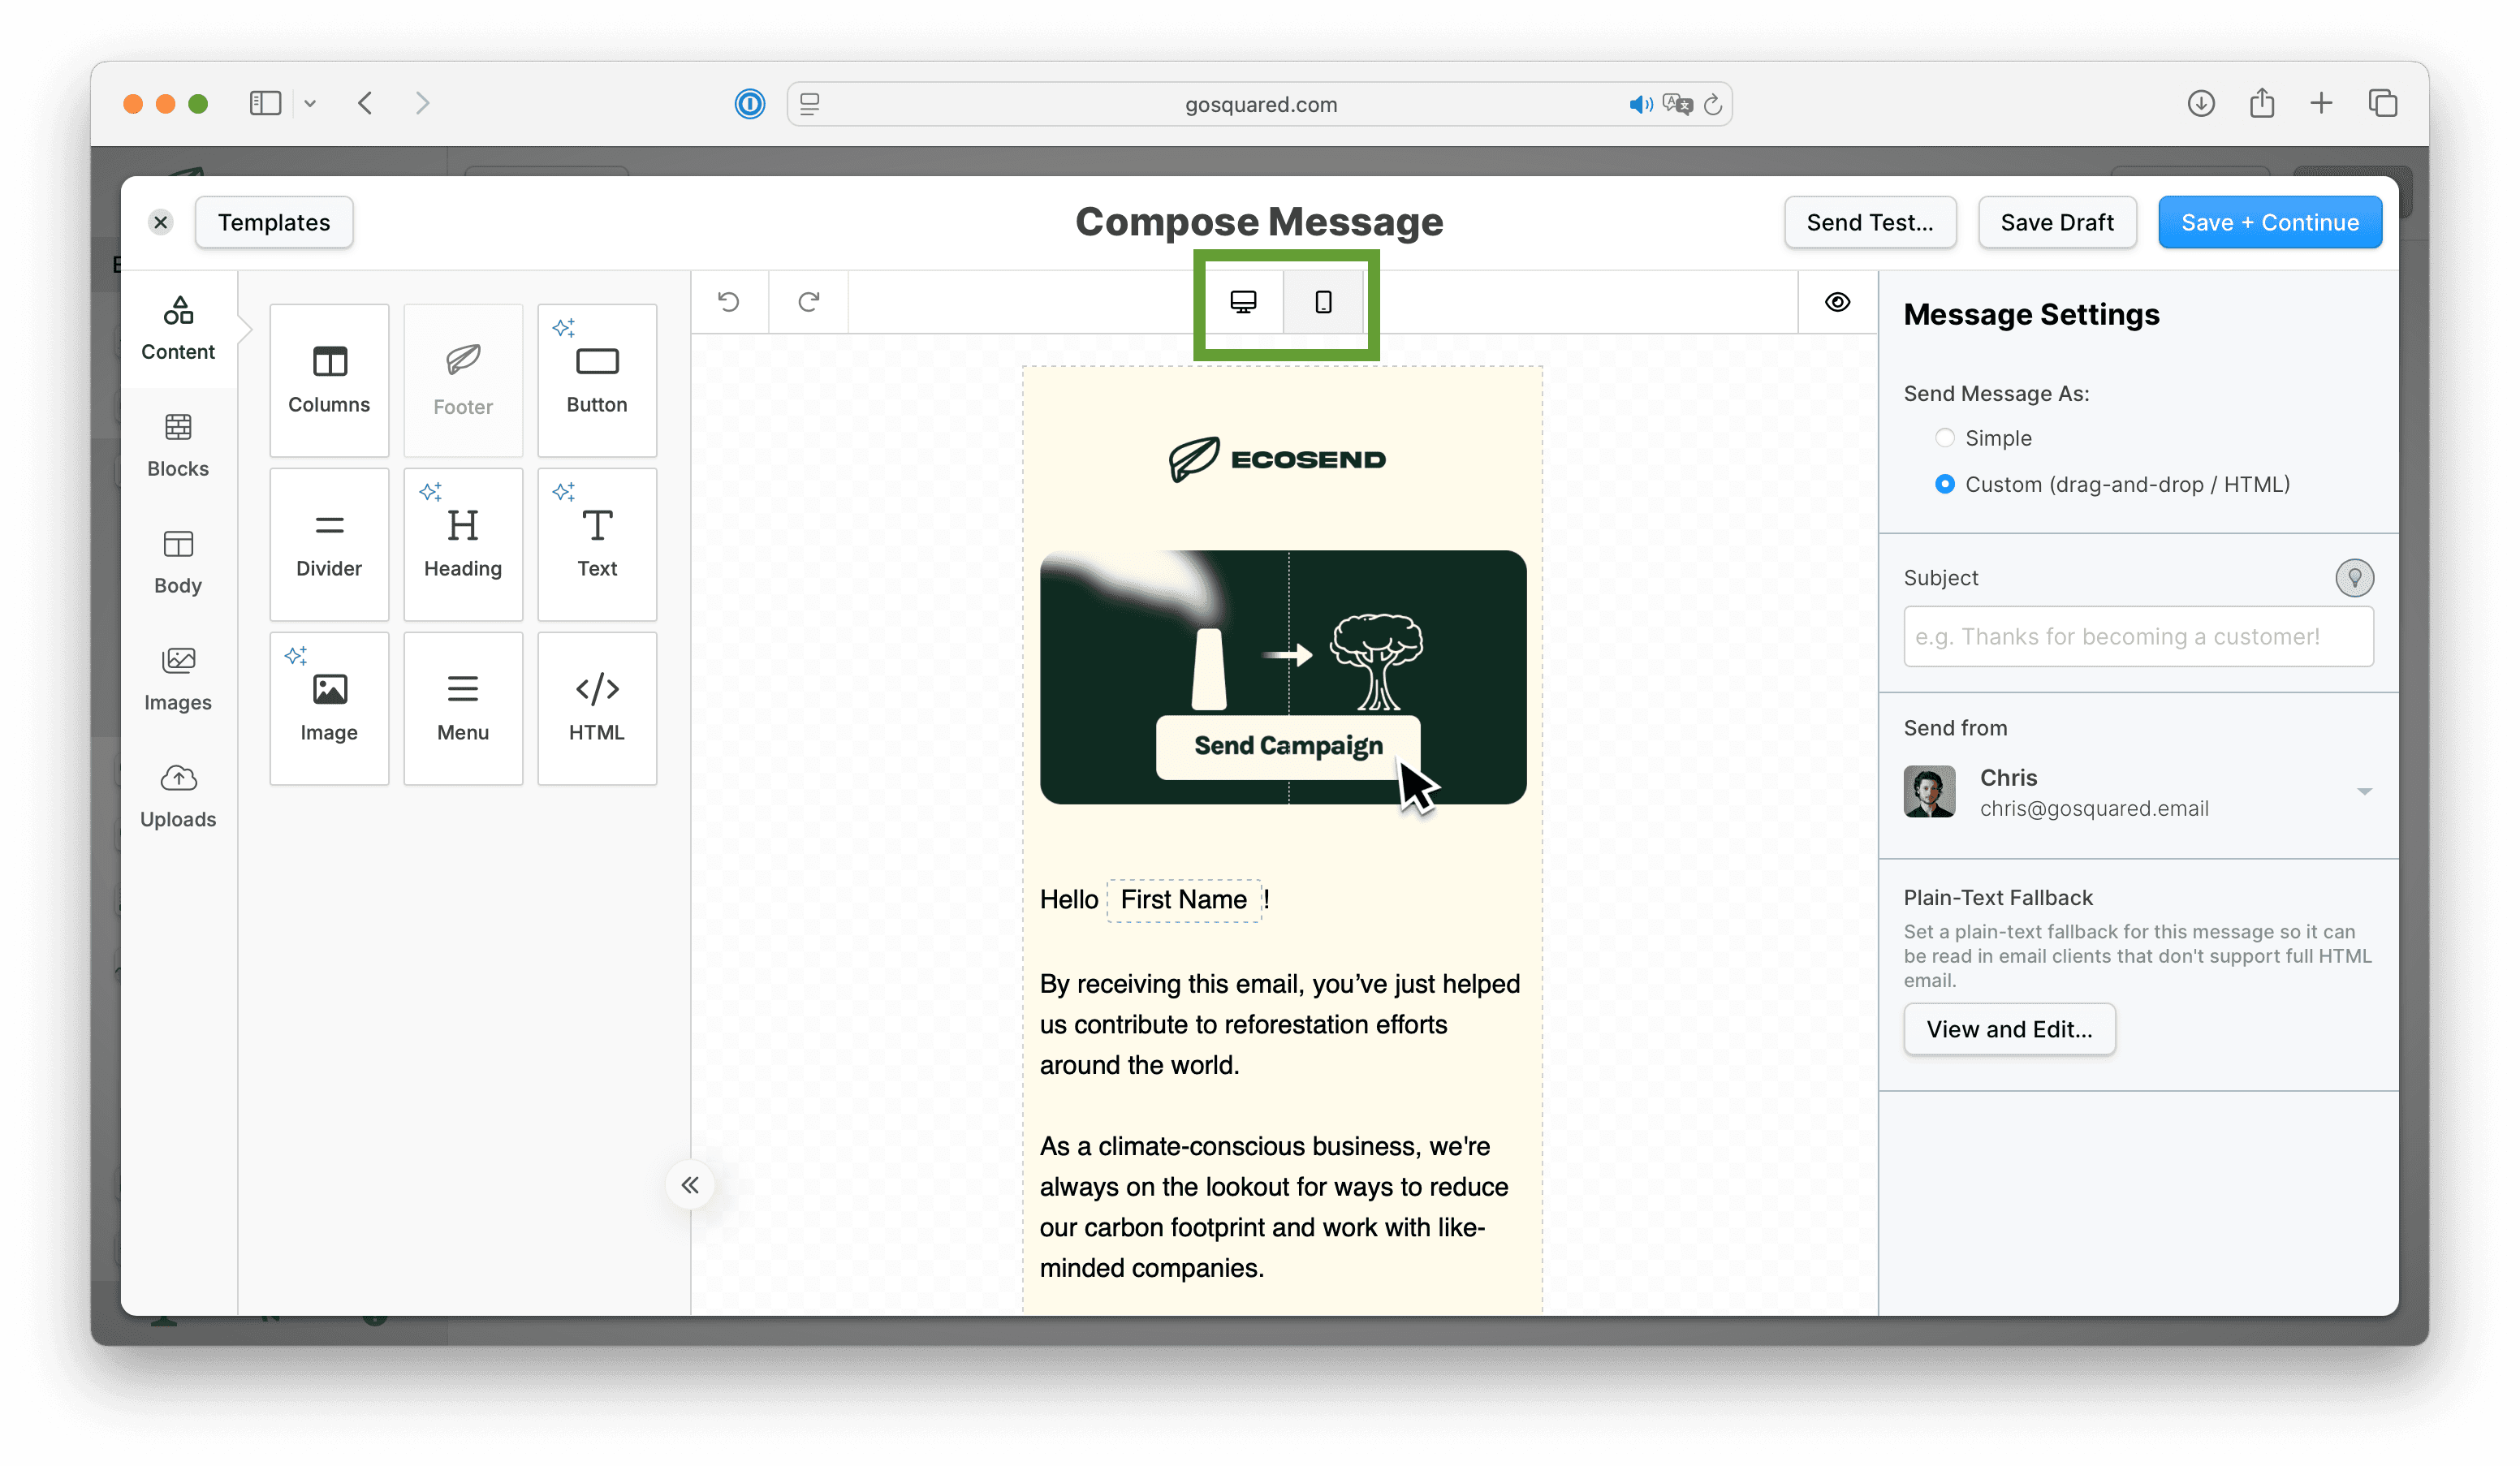
After you’ve selected the list of users for your message, click the option for **‘Custom (drag-and-drop / HTML)’**Kick-off with one of our pre-set template, or build your own!
Select and drag the blocks from the right-hand side into the message builder to start creating your HTML email.
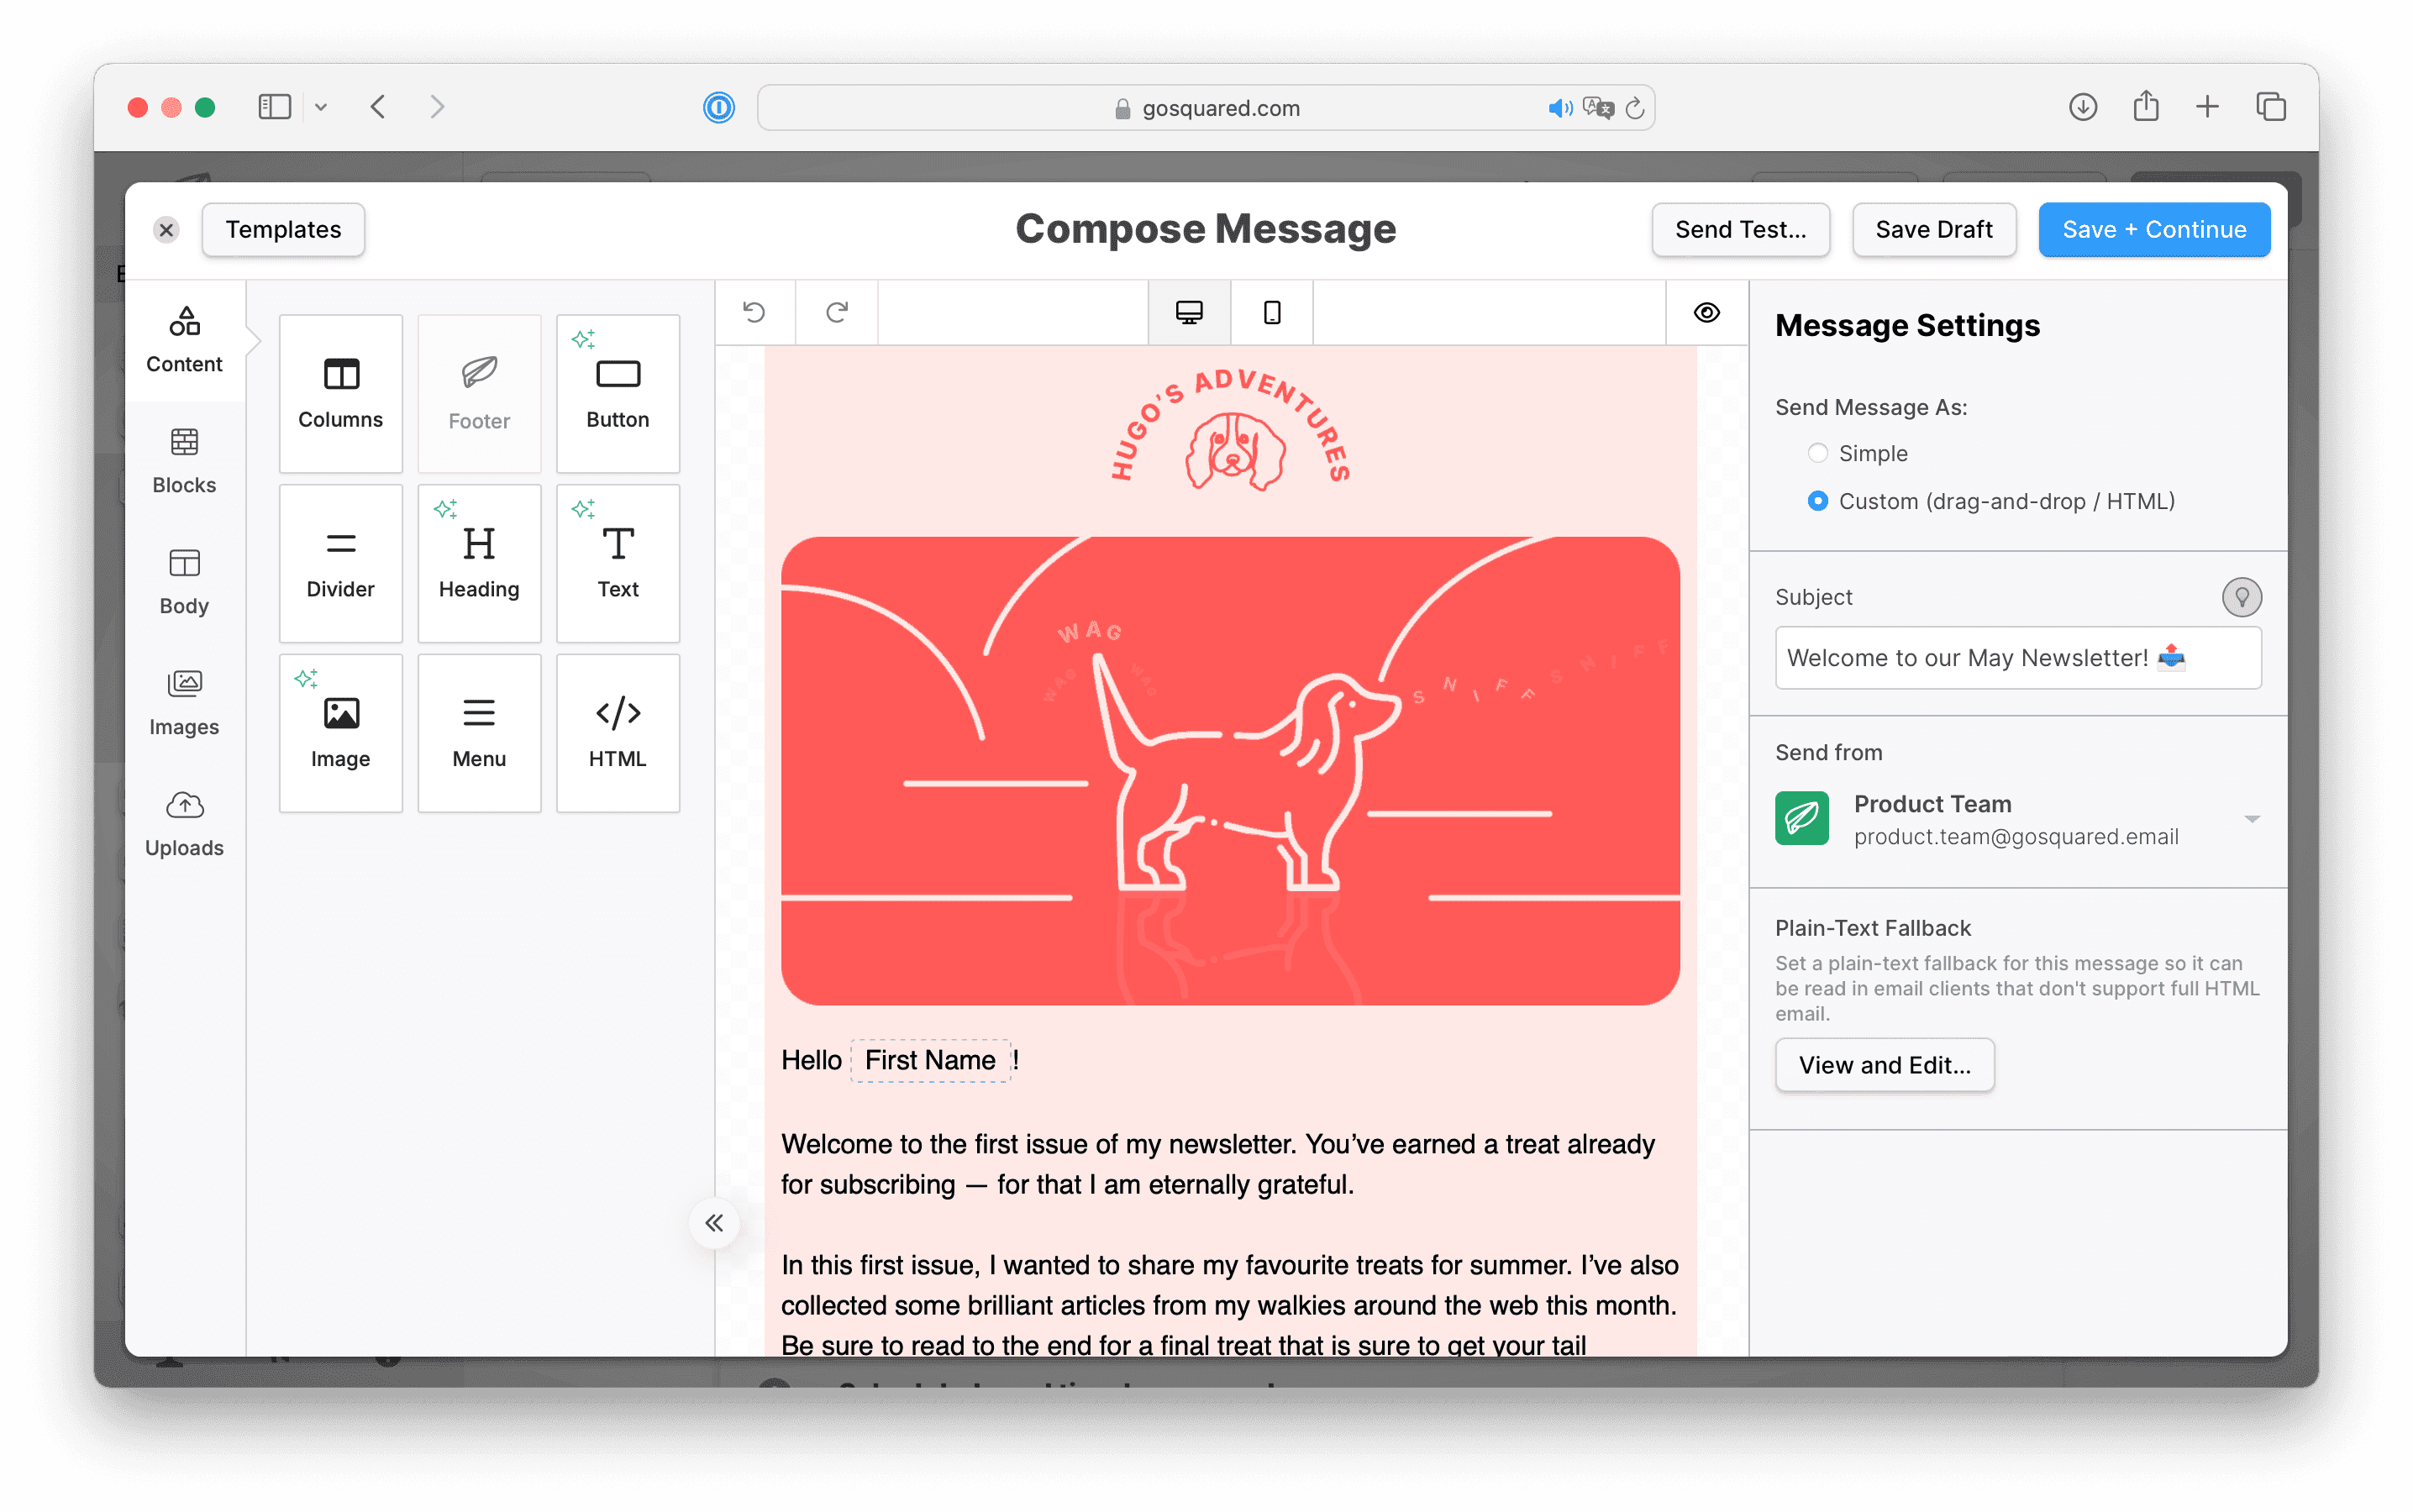
Our HTML builder will work behind the scenes to build out the HTML code for your message, ready to be sent out to your users.
Image Library
You can save any images you use on a regular basis in your campaigns by clicking the 'Uploads' option from the right-hand sidebar.
Simply Upload or drag&drop your images into the box to have them saved and available for you anytime you open the message composer for your next email campaigns.
Email templates + Saved Blocks
If you use a regular layout for your email campaigns, you can save a set 'block' as a template to use and re-create across other email campaigns.
Once you have designed your block, which could be a group of text, images, headings, social icons etc - simply click the Save icon at the bottom right-hand corner of the block to add it to your set list under Blocks.
Click the link below for a quick video tutorial with Chris, showing you how to create and re-use email templates, with our Saved Blocks feature 👇
Sending out your Broadcast
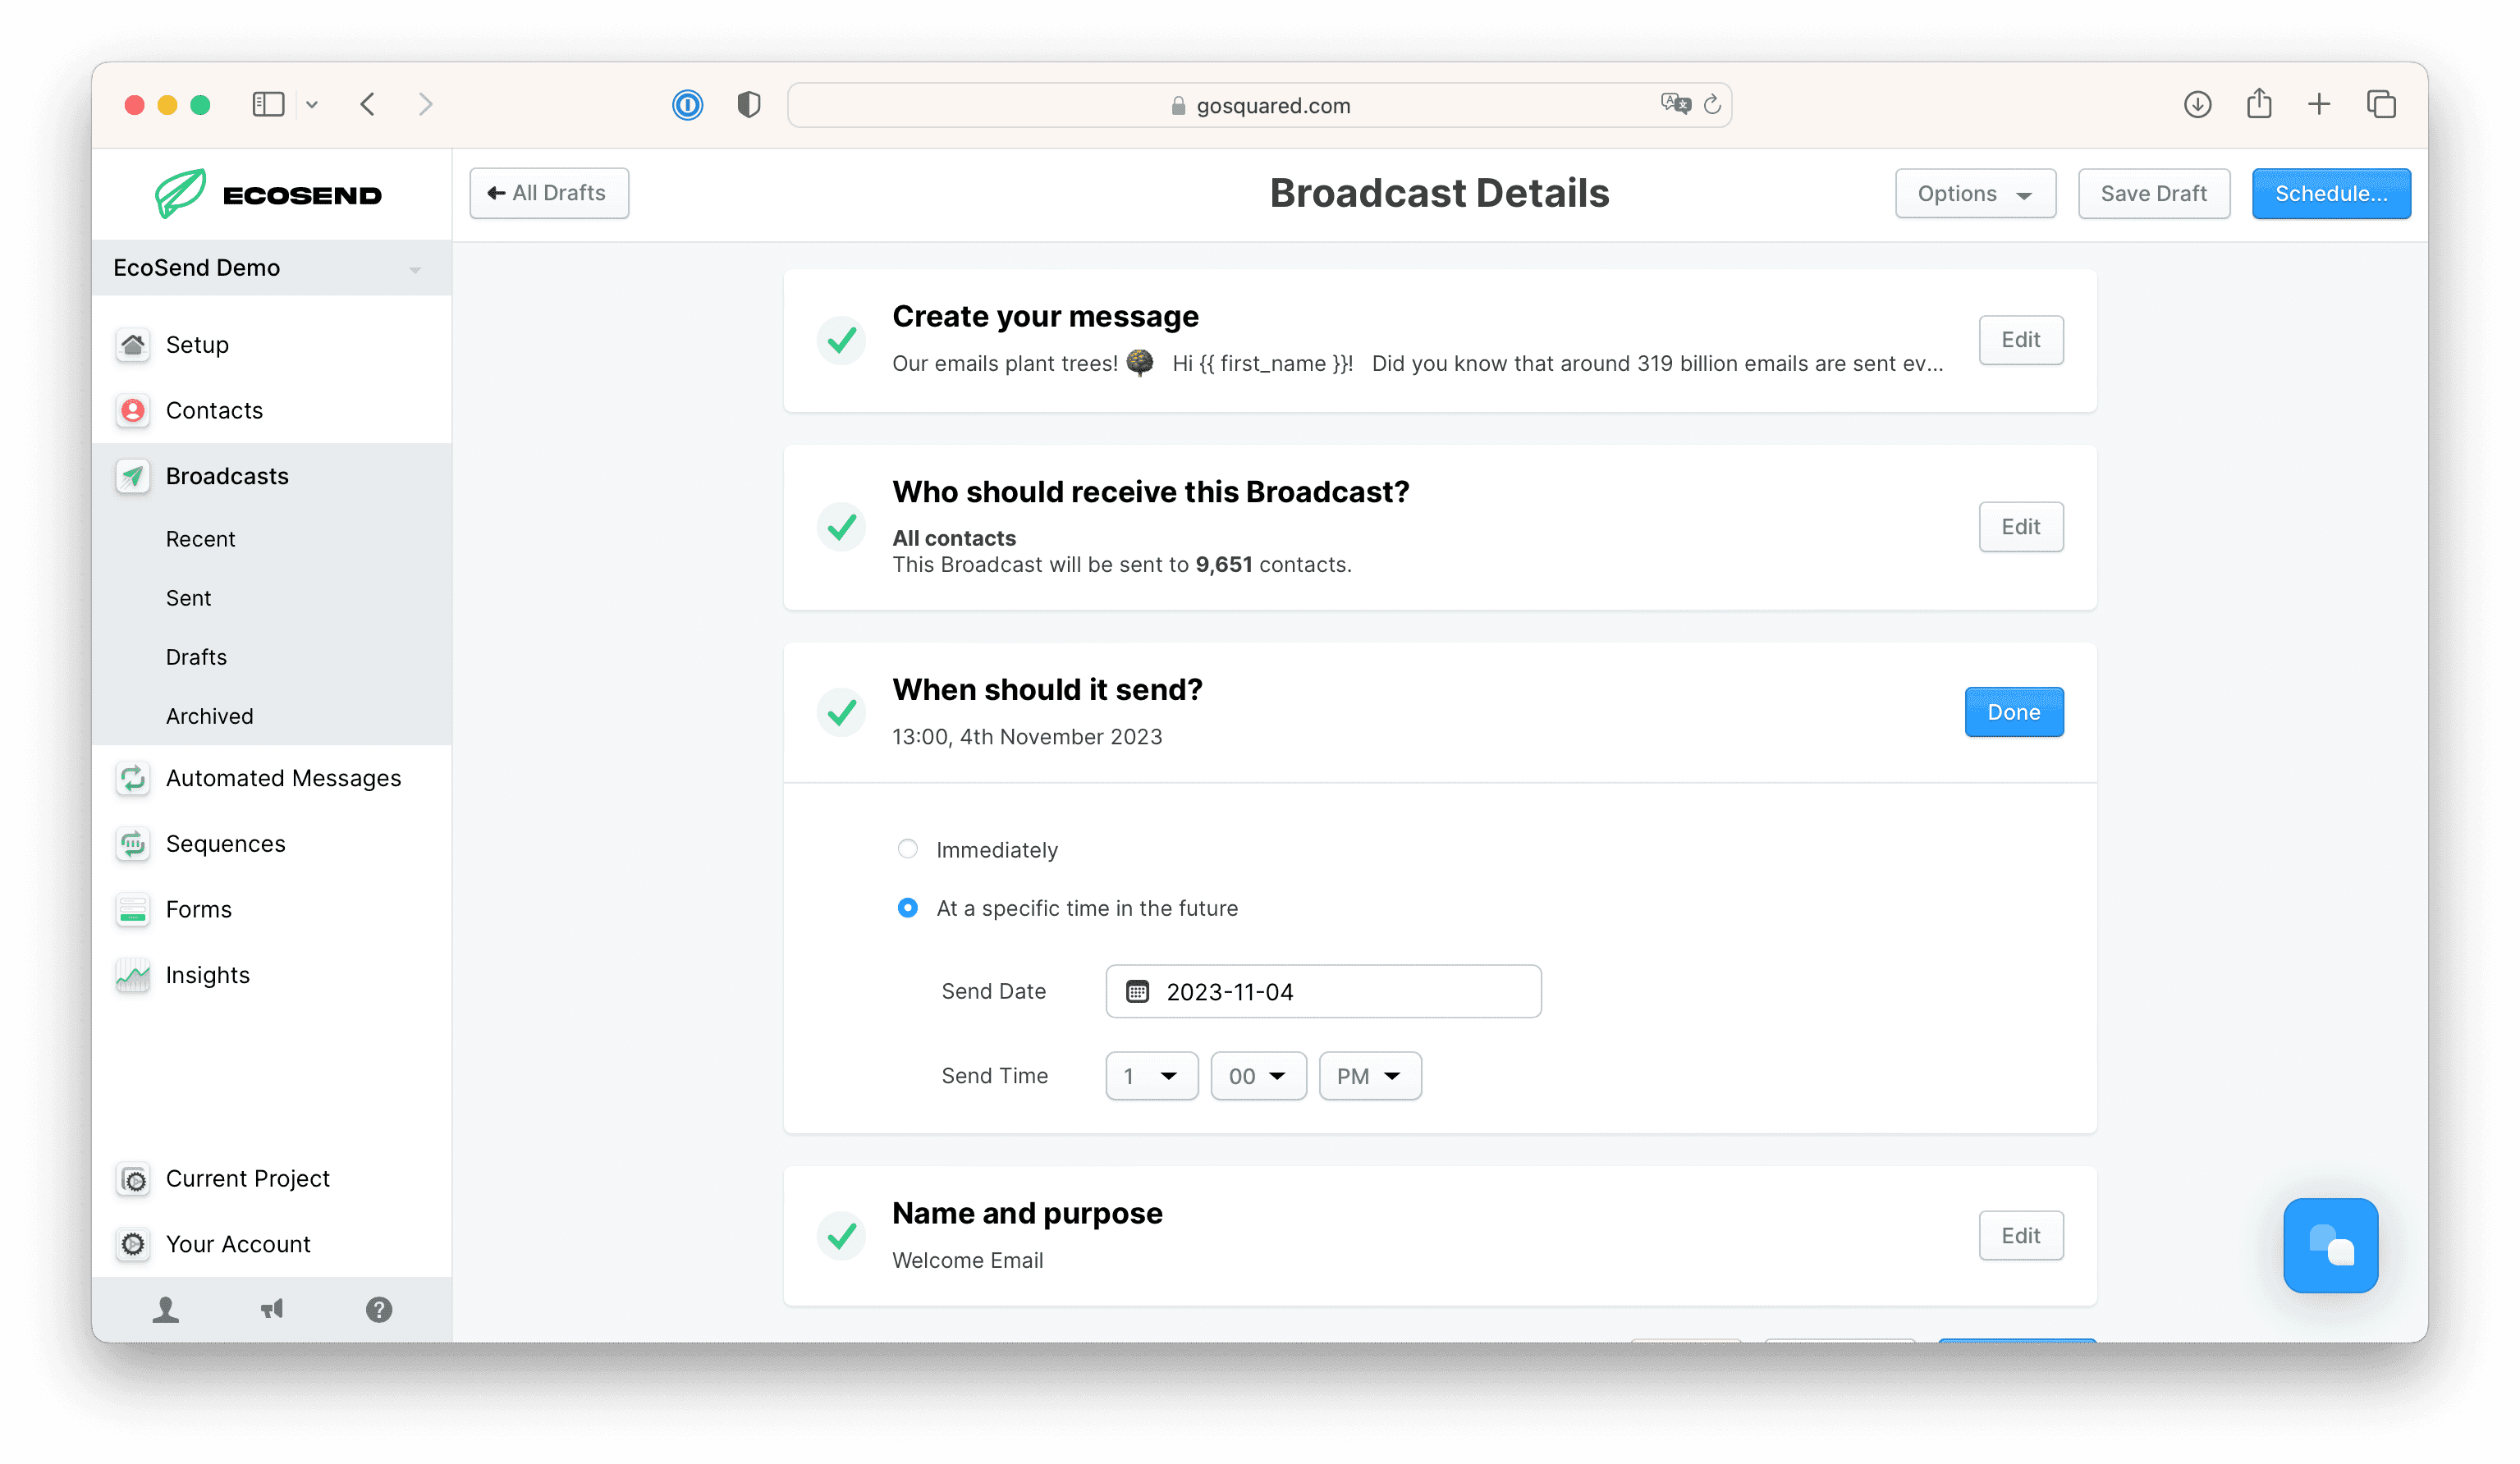
Once you have created your HTML, you can save it as a Draft to come back to at a later date, or for a colleague to edit.
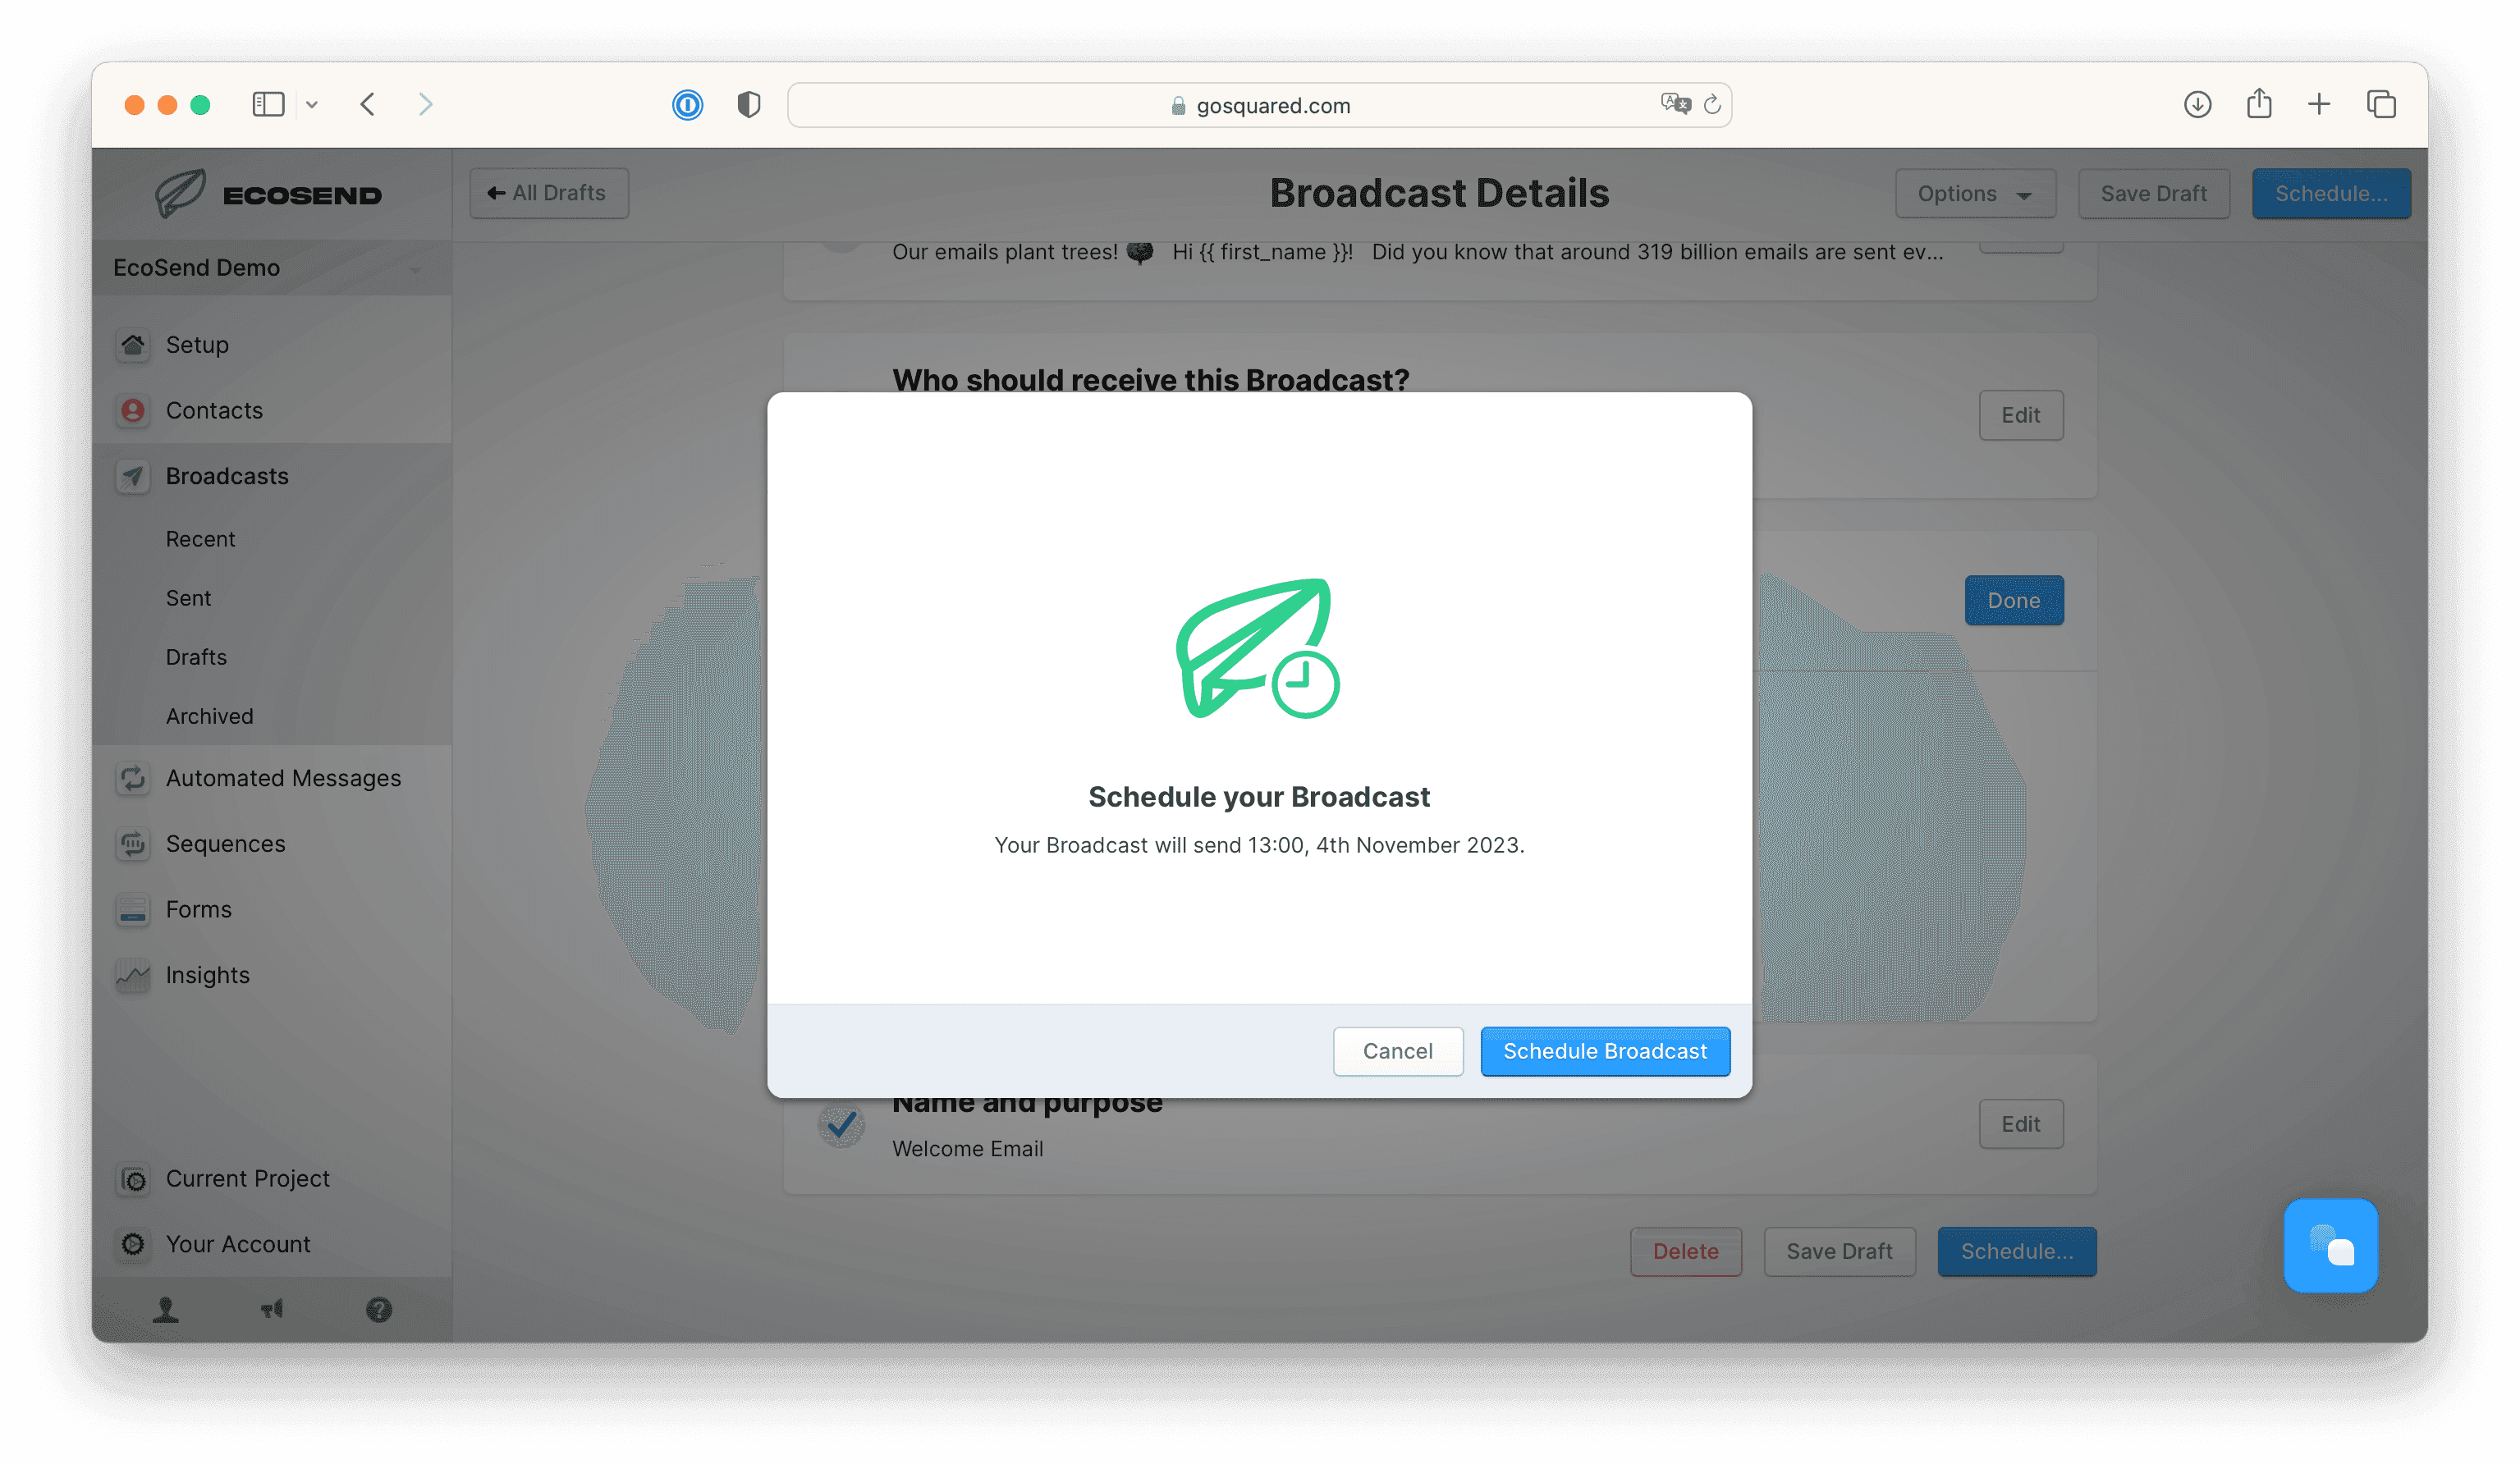
Or, if you’re ready to go, click Done and give your Email one final review. You can then choose to Publish your Broadcast immediately, or Schedule your Broadcast to send at a later date & time.
If you choose to Schedule your Broadcast for a future date, EcoSend will automatically update your audience so any last-minute additions or unsubscribes will be factored in.
Re-send Broadcasts
Even with the best email and subject line, your recipients might sometimes need an extra nudge.
Maybe they missed your first email because they were on holiday, or maybe they opened your campaign but didn't click the link.
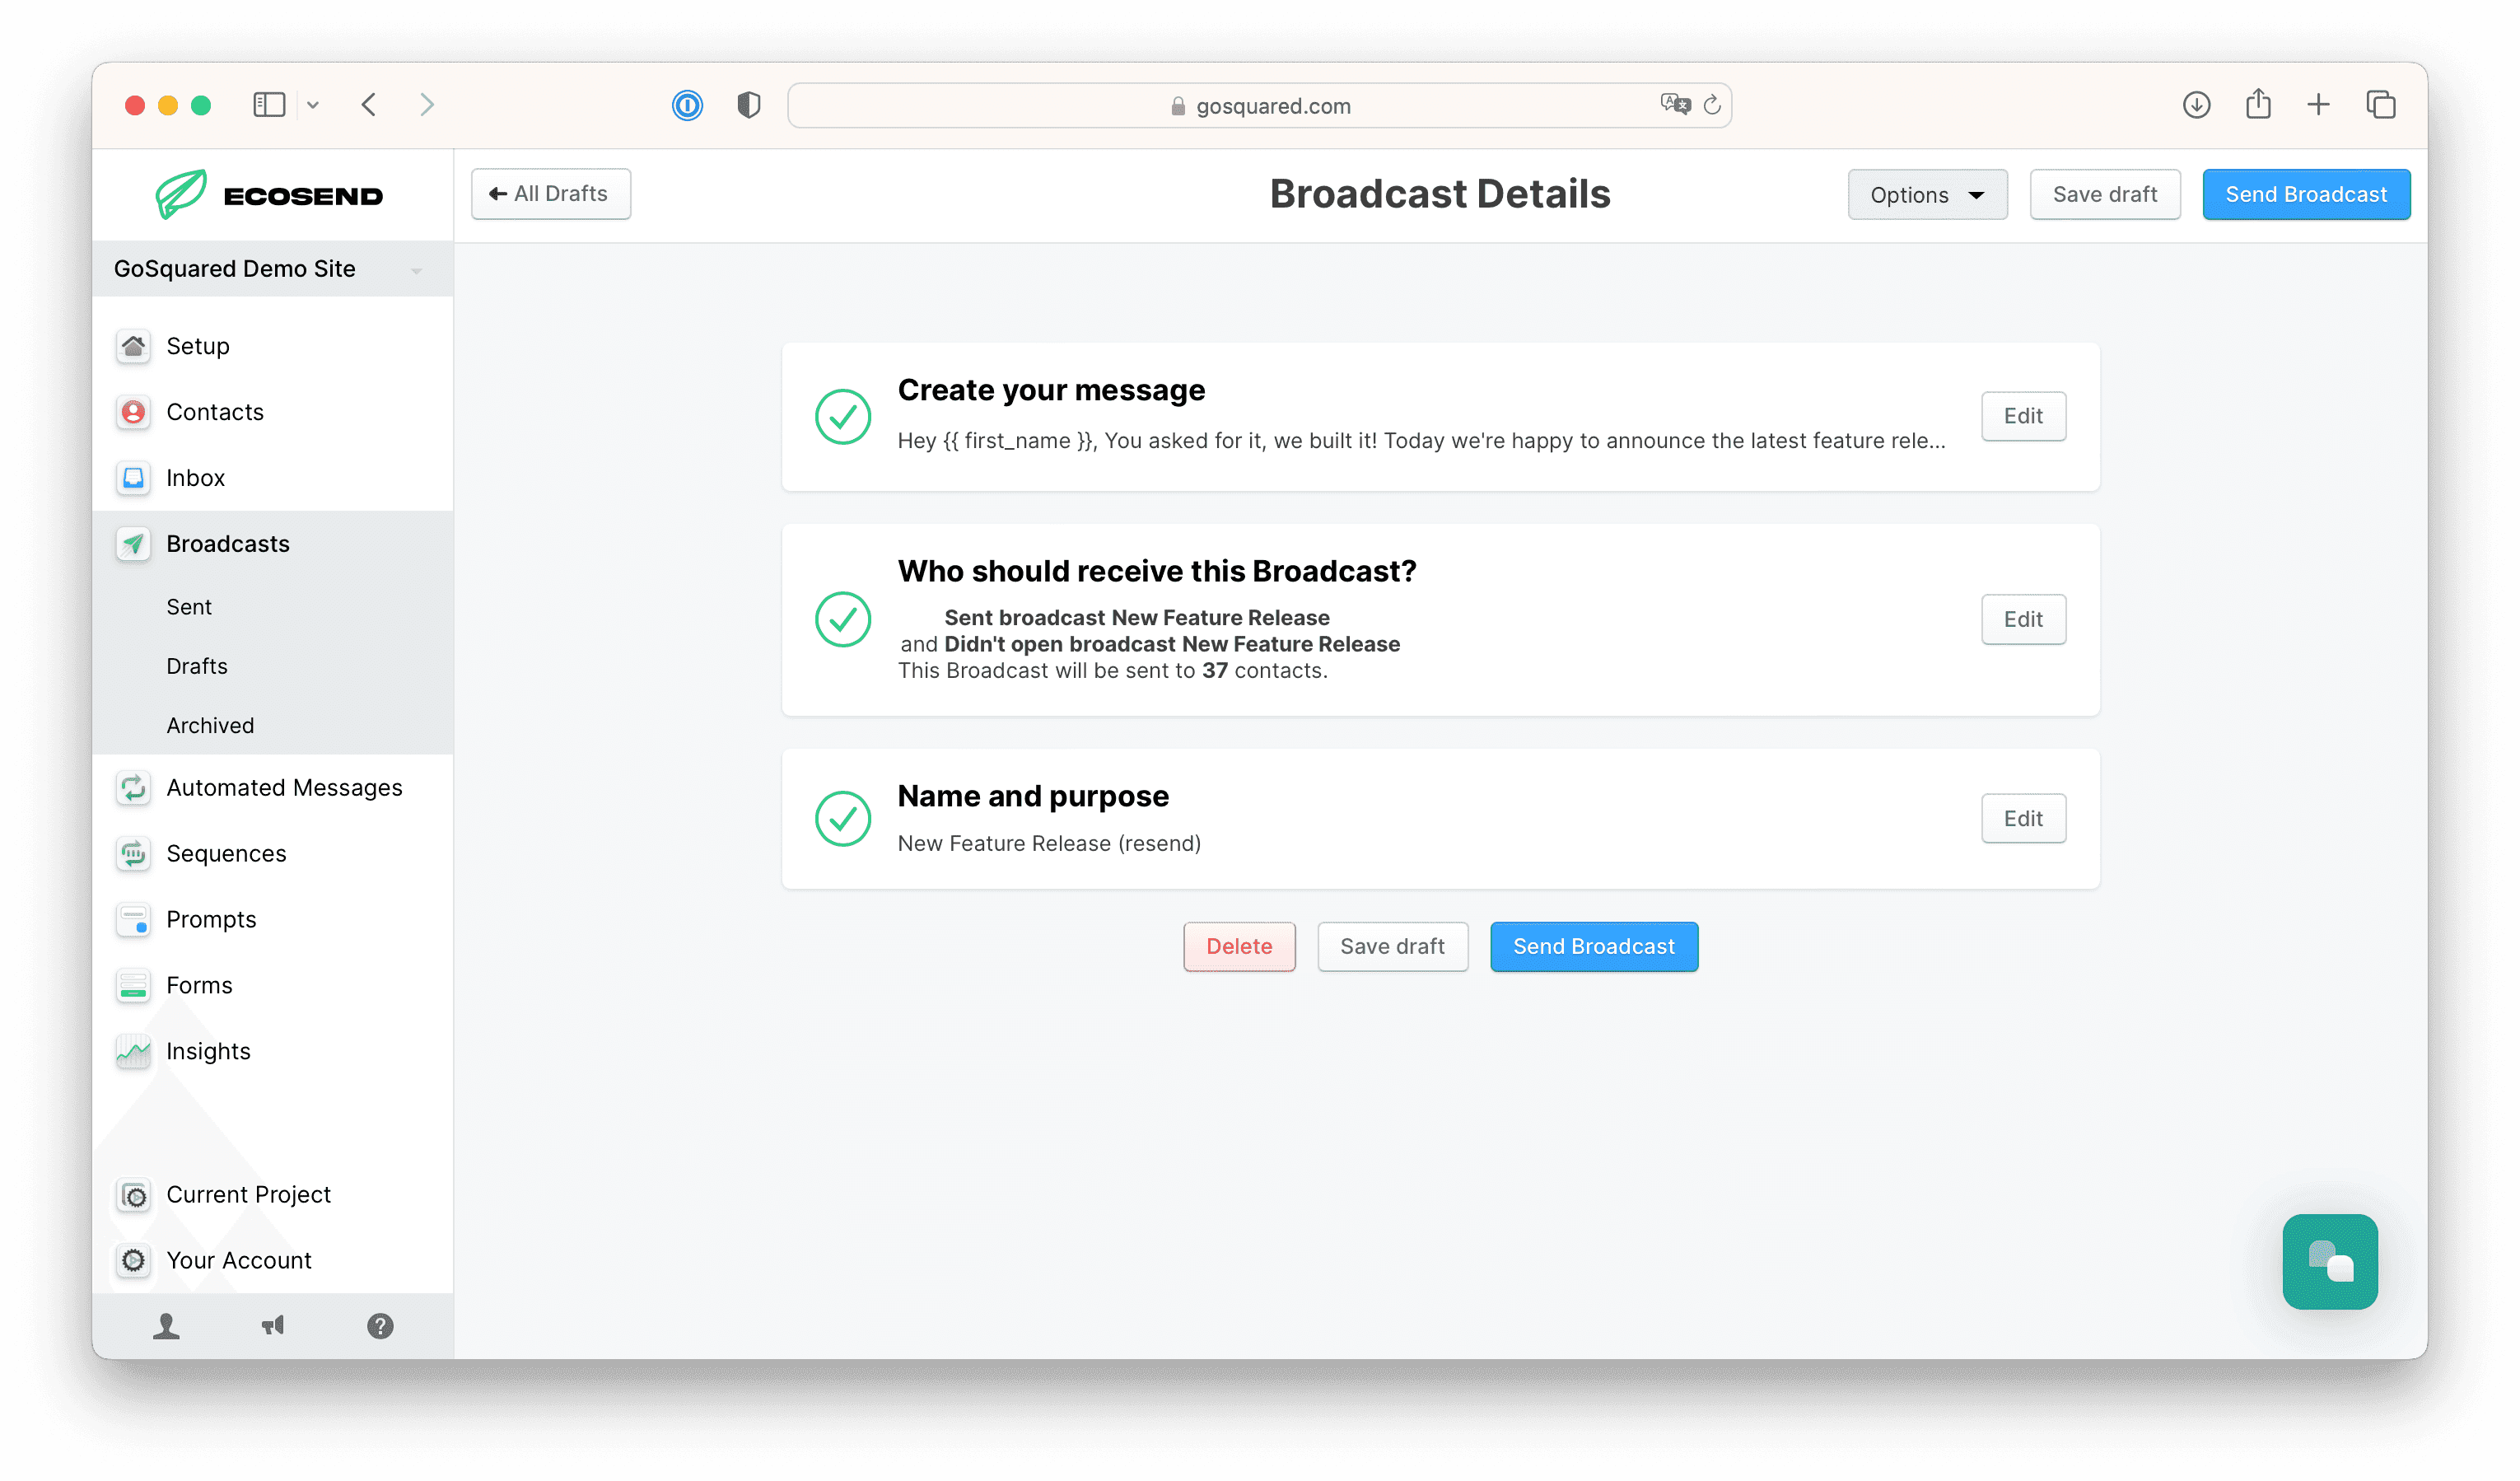
Fortunately, with EcoSend's retarget function, you can resend your Broadcast to recipients who didn't open and recipients who didn't click your original message.
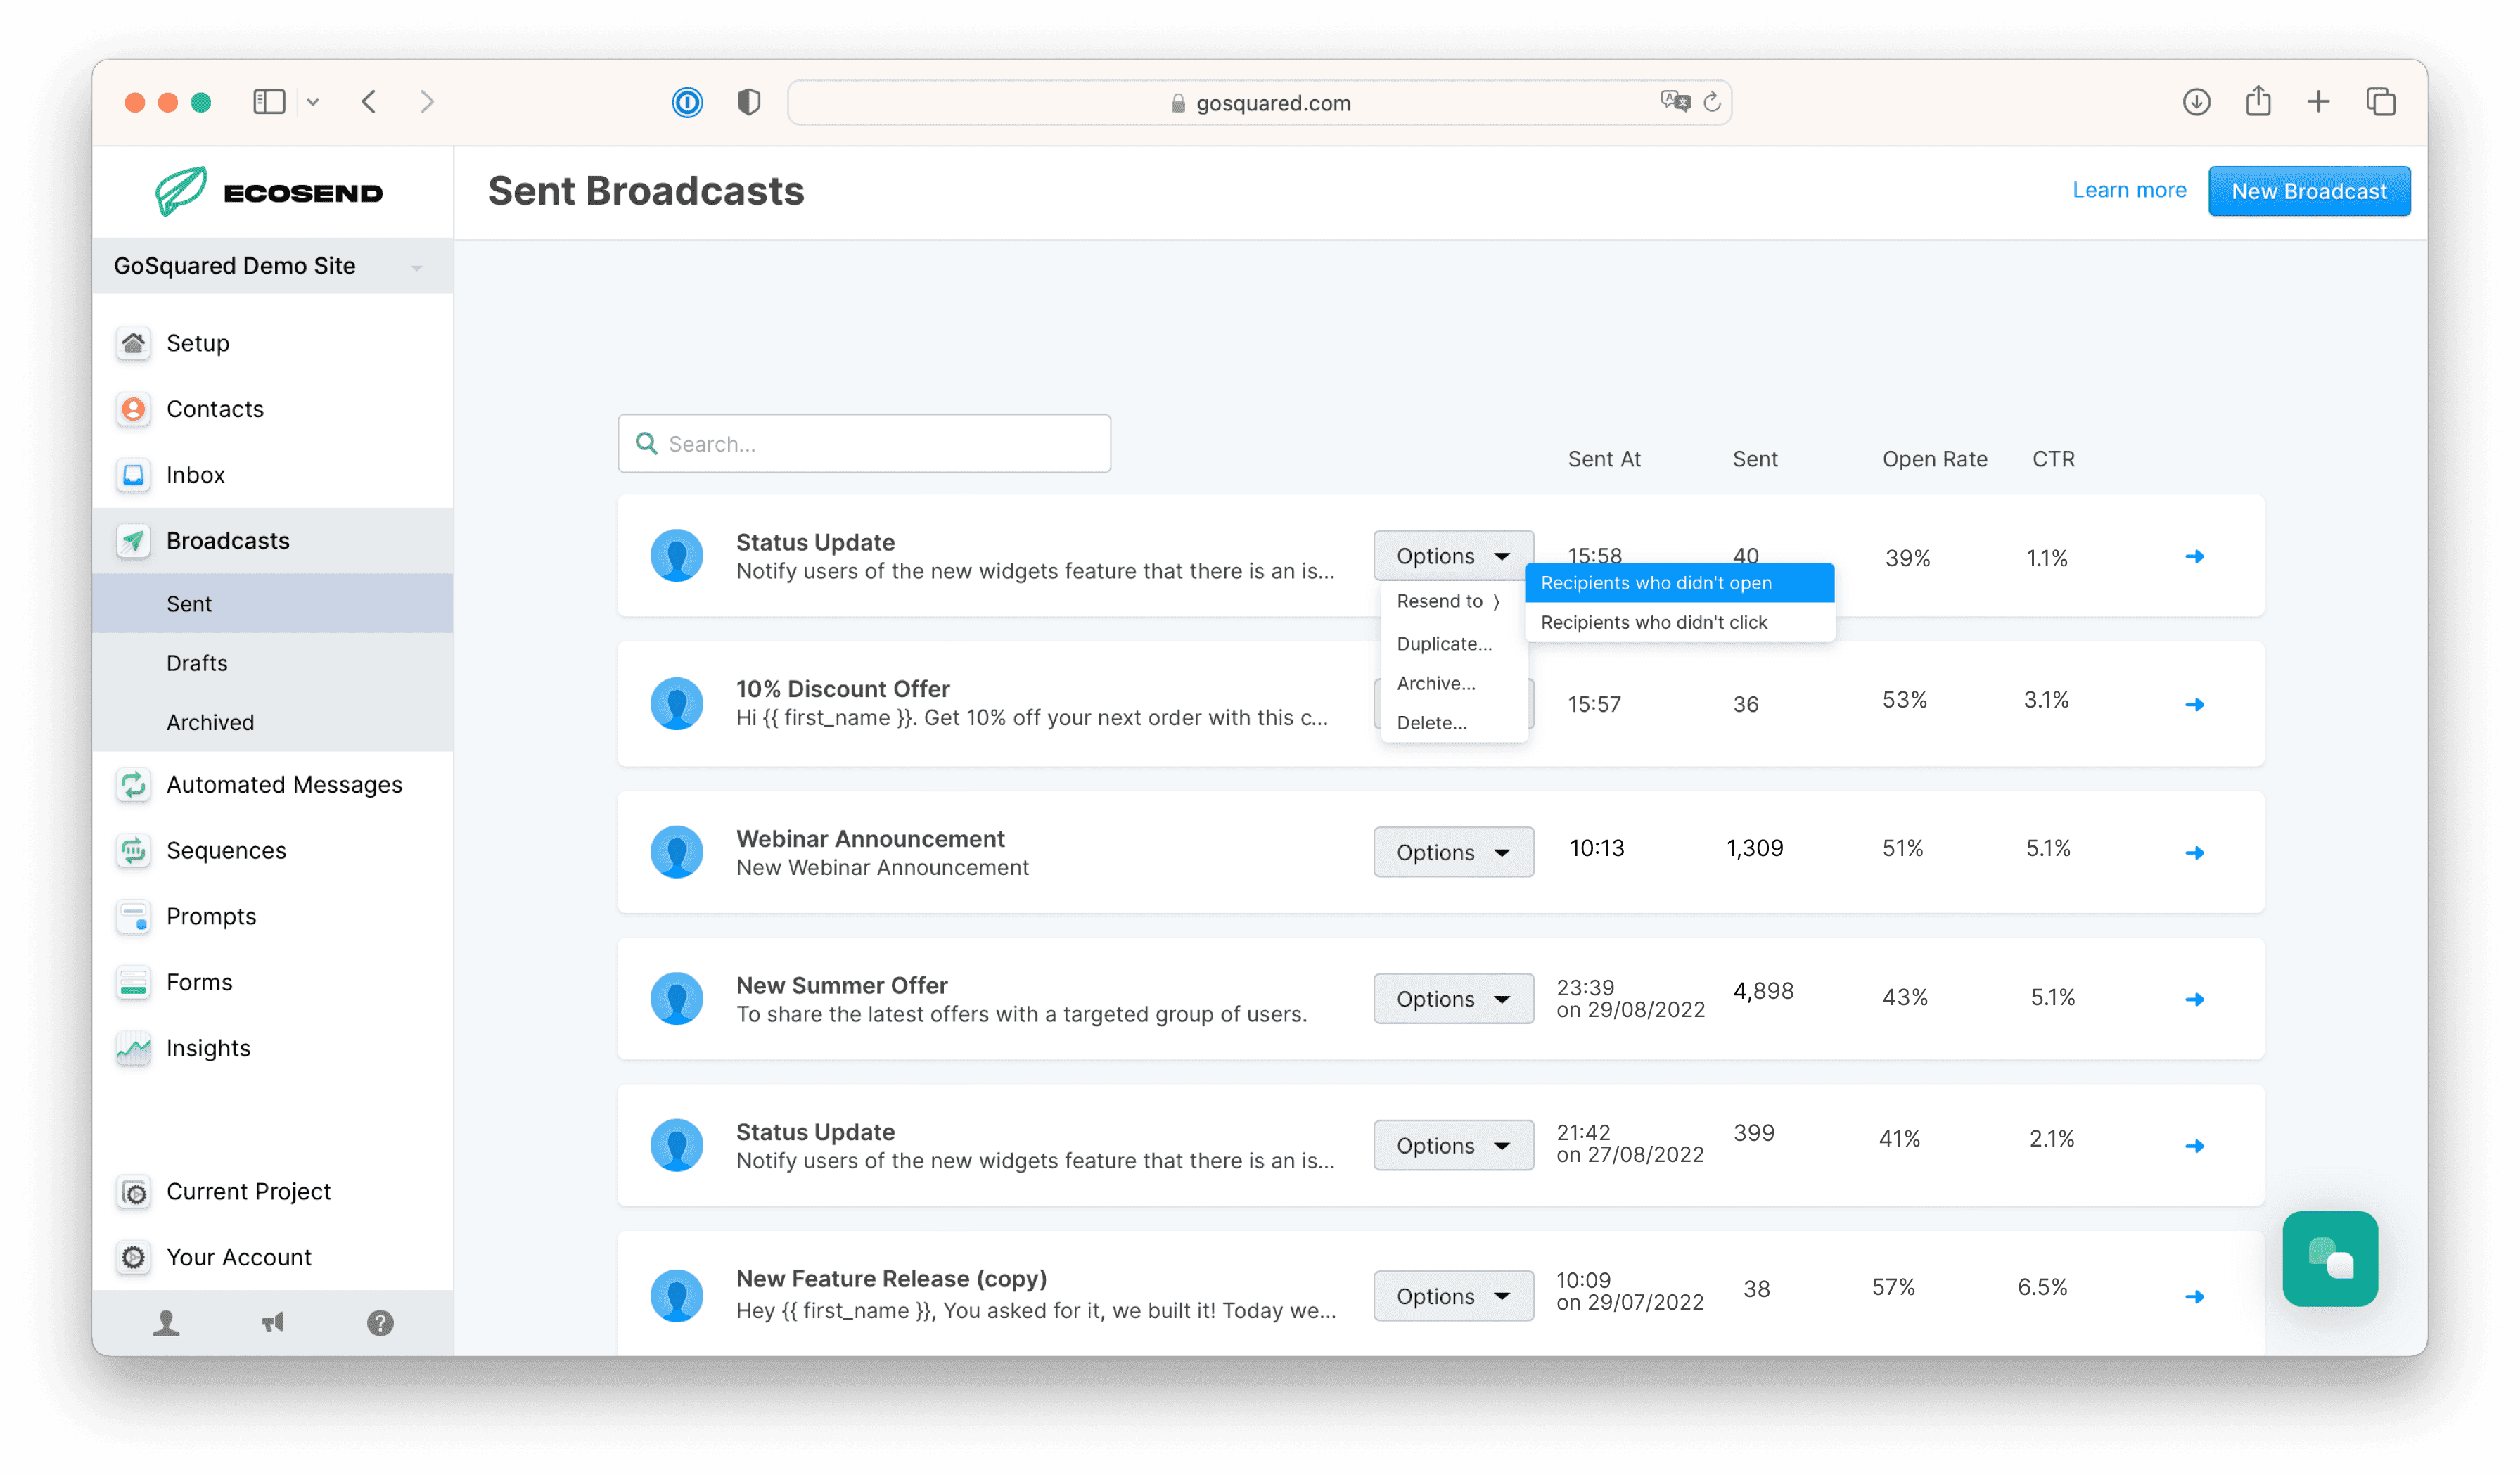
This ensures you send timely, targeted follow-up to relevant users only, to nudge them to engage with your content.
Review your Broadcast metrics
Congrats - you've sent out your first climate-conscious campaign! 🎉
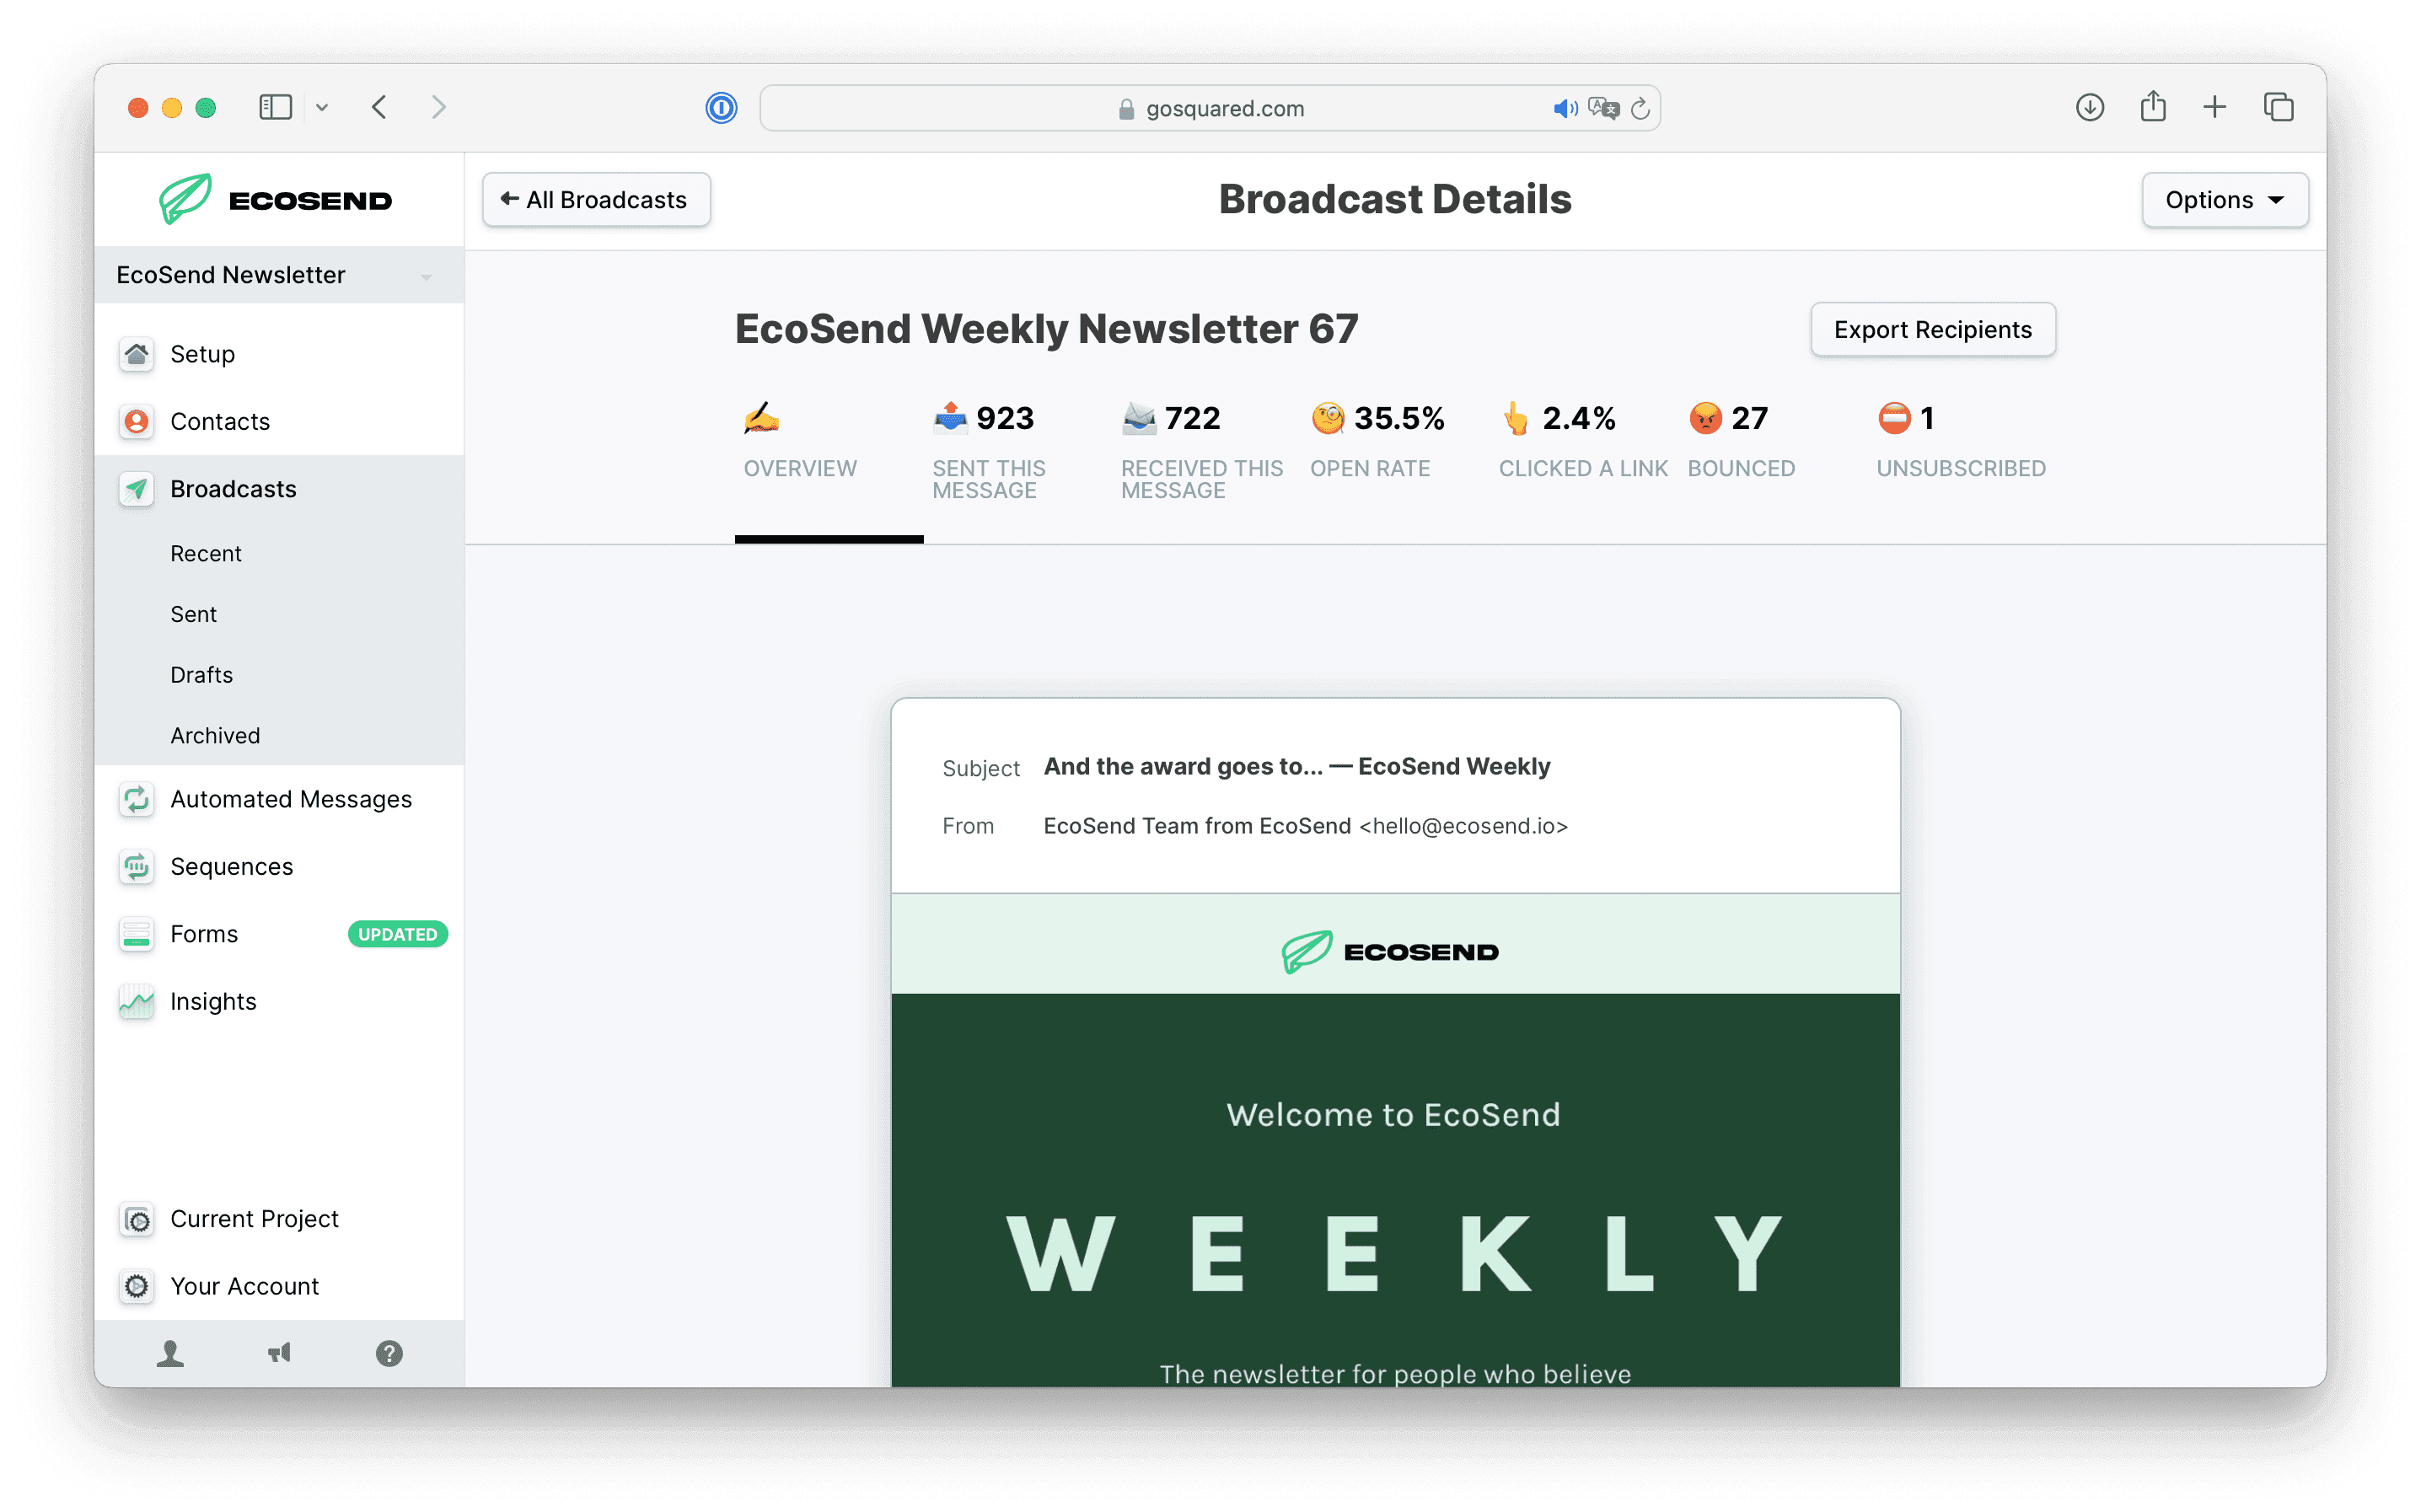
Check back in later to review key stats from your Broadcast, such as which users opened or clicked the email. Or you can view the metrics aggregated over time in your EcoSend Insights dashboard.
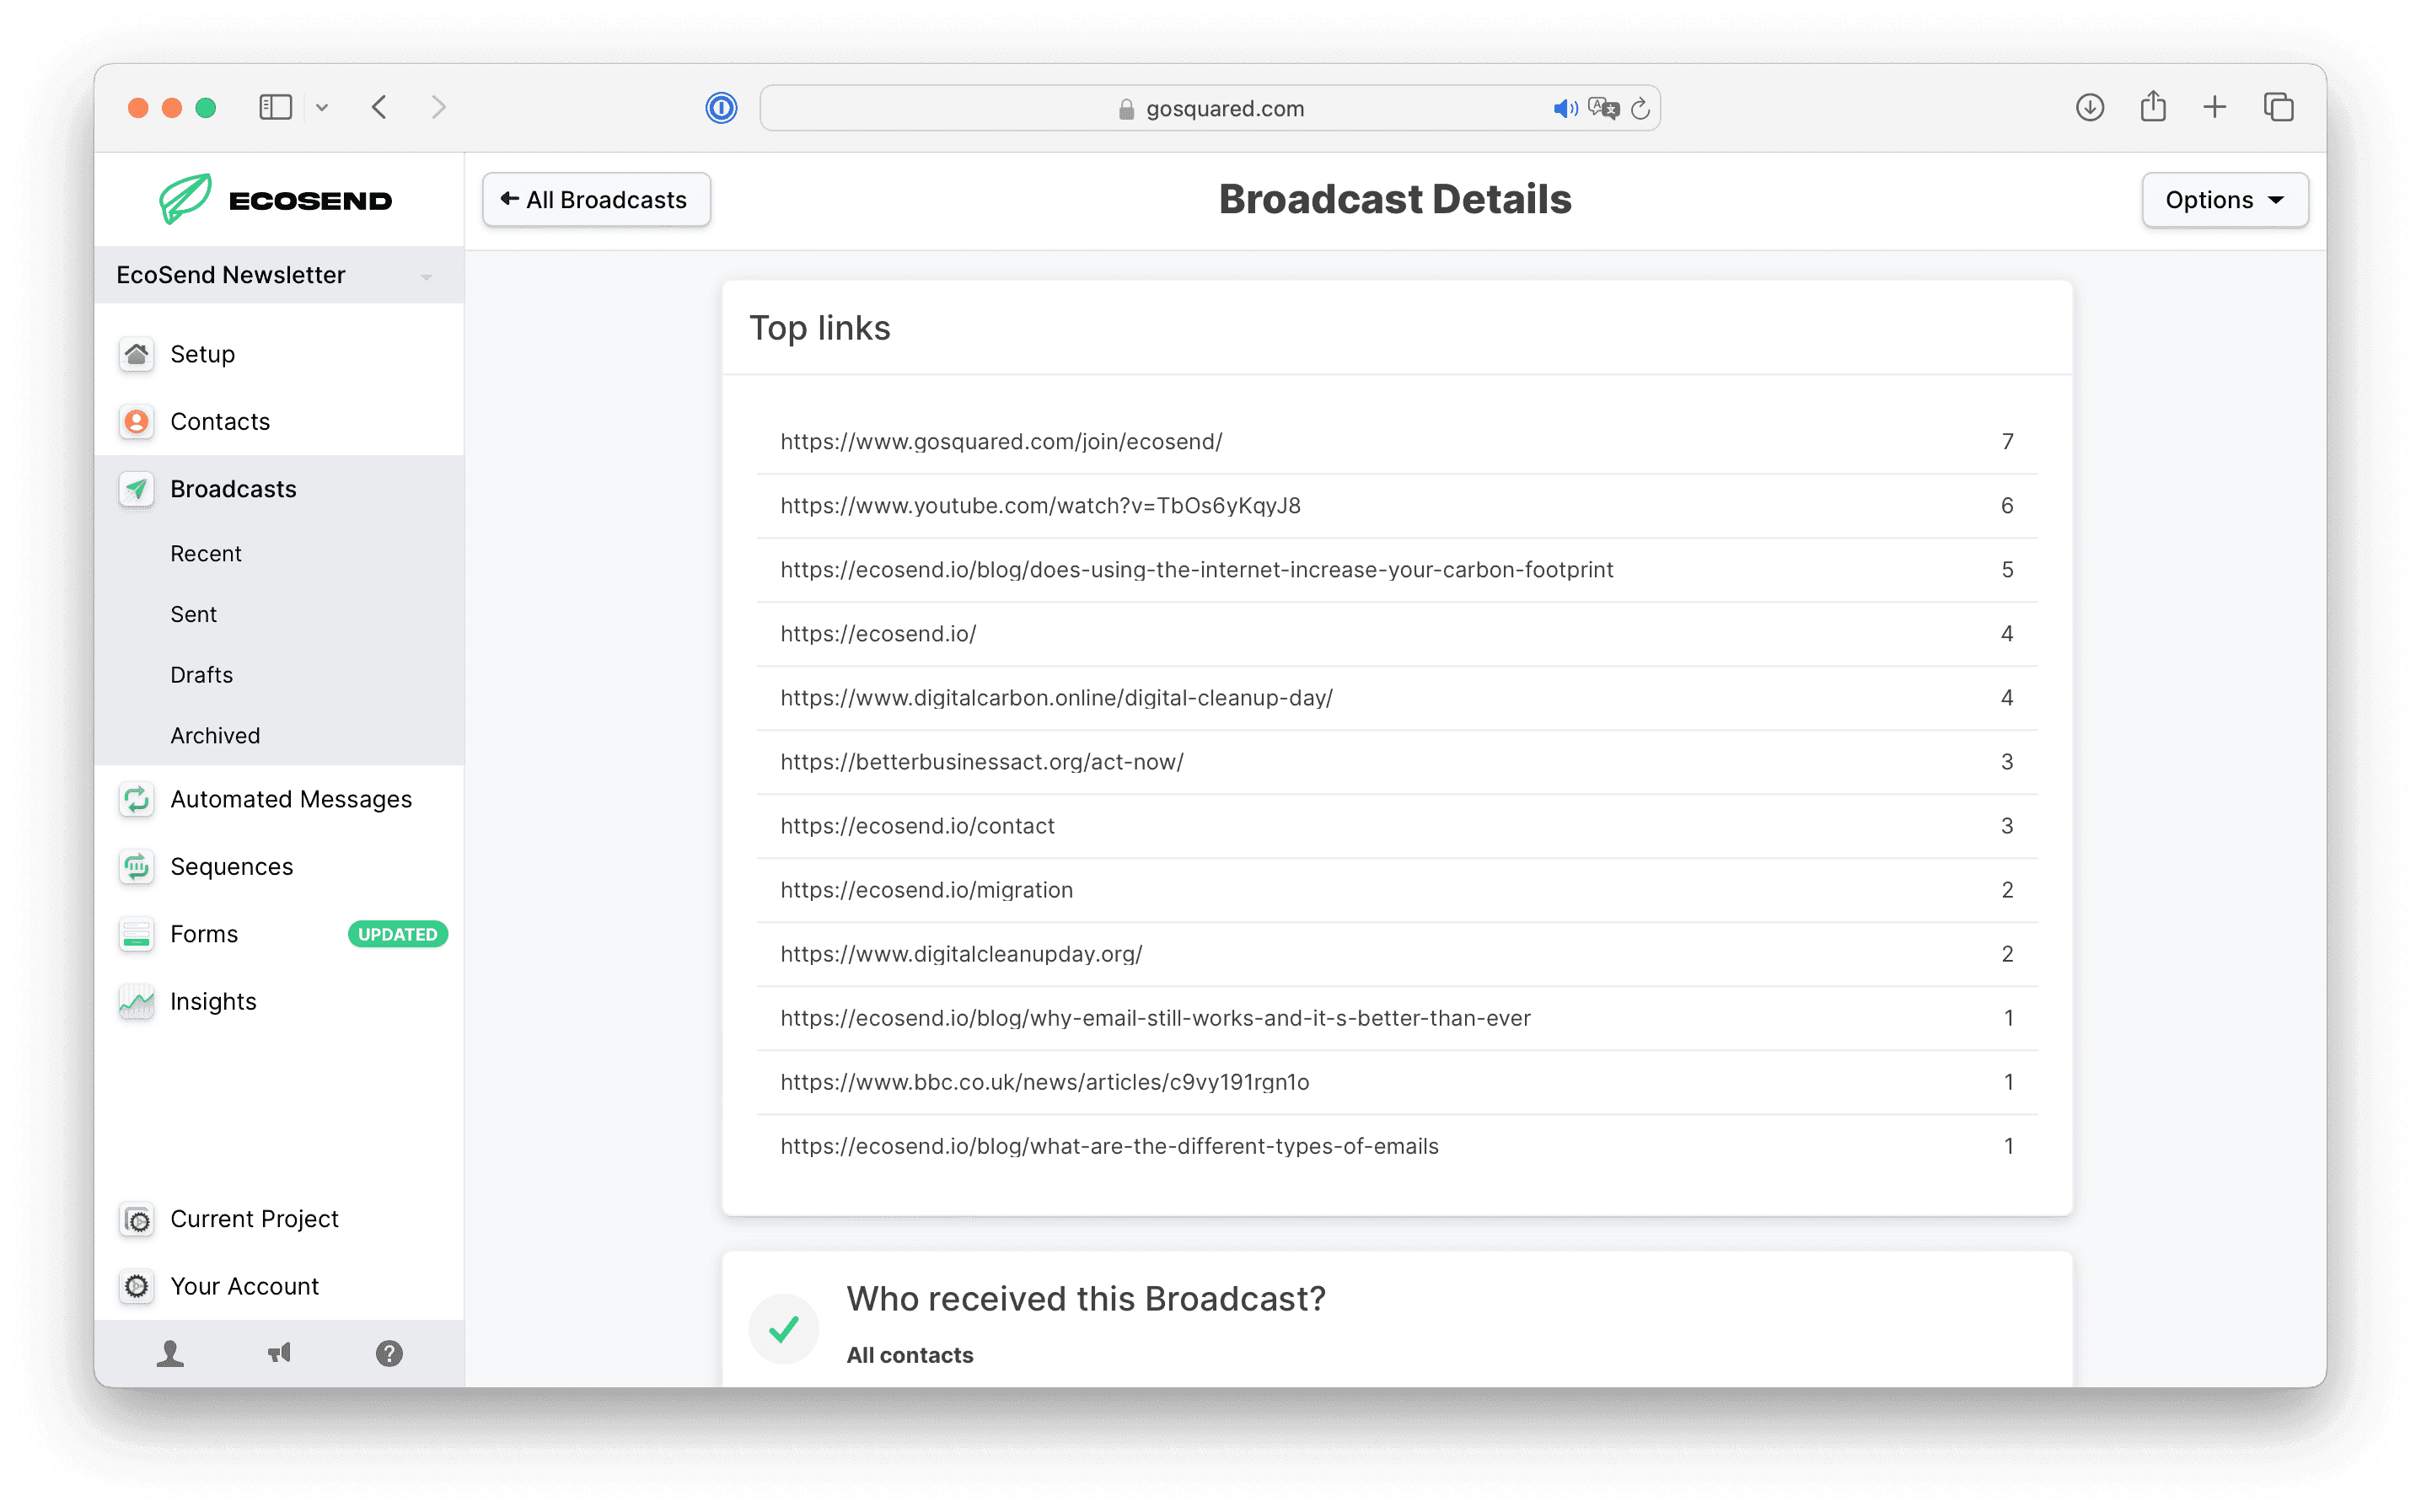
You can also view the exact links clicked within any EcoSend Broadcast, so you can see what content or events are resonating best with your audience!
Remember to preview in mobile
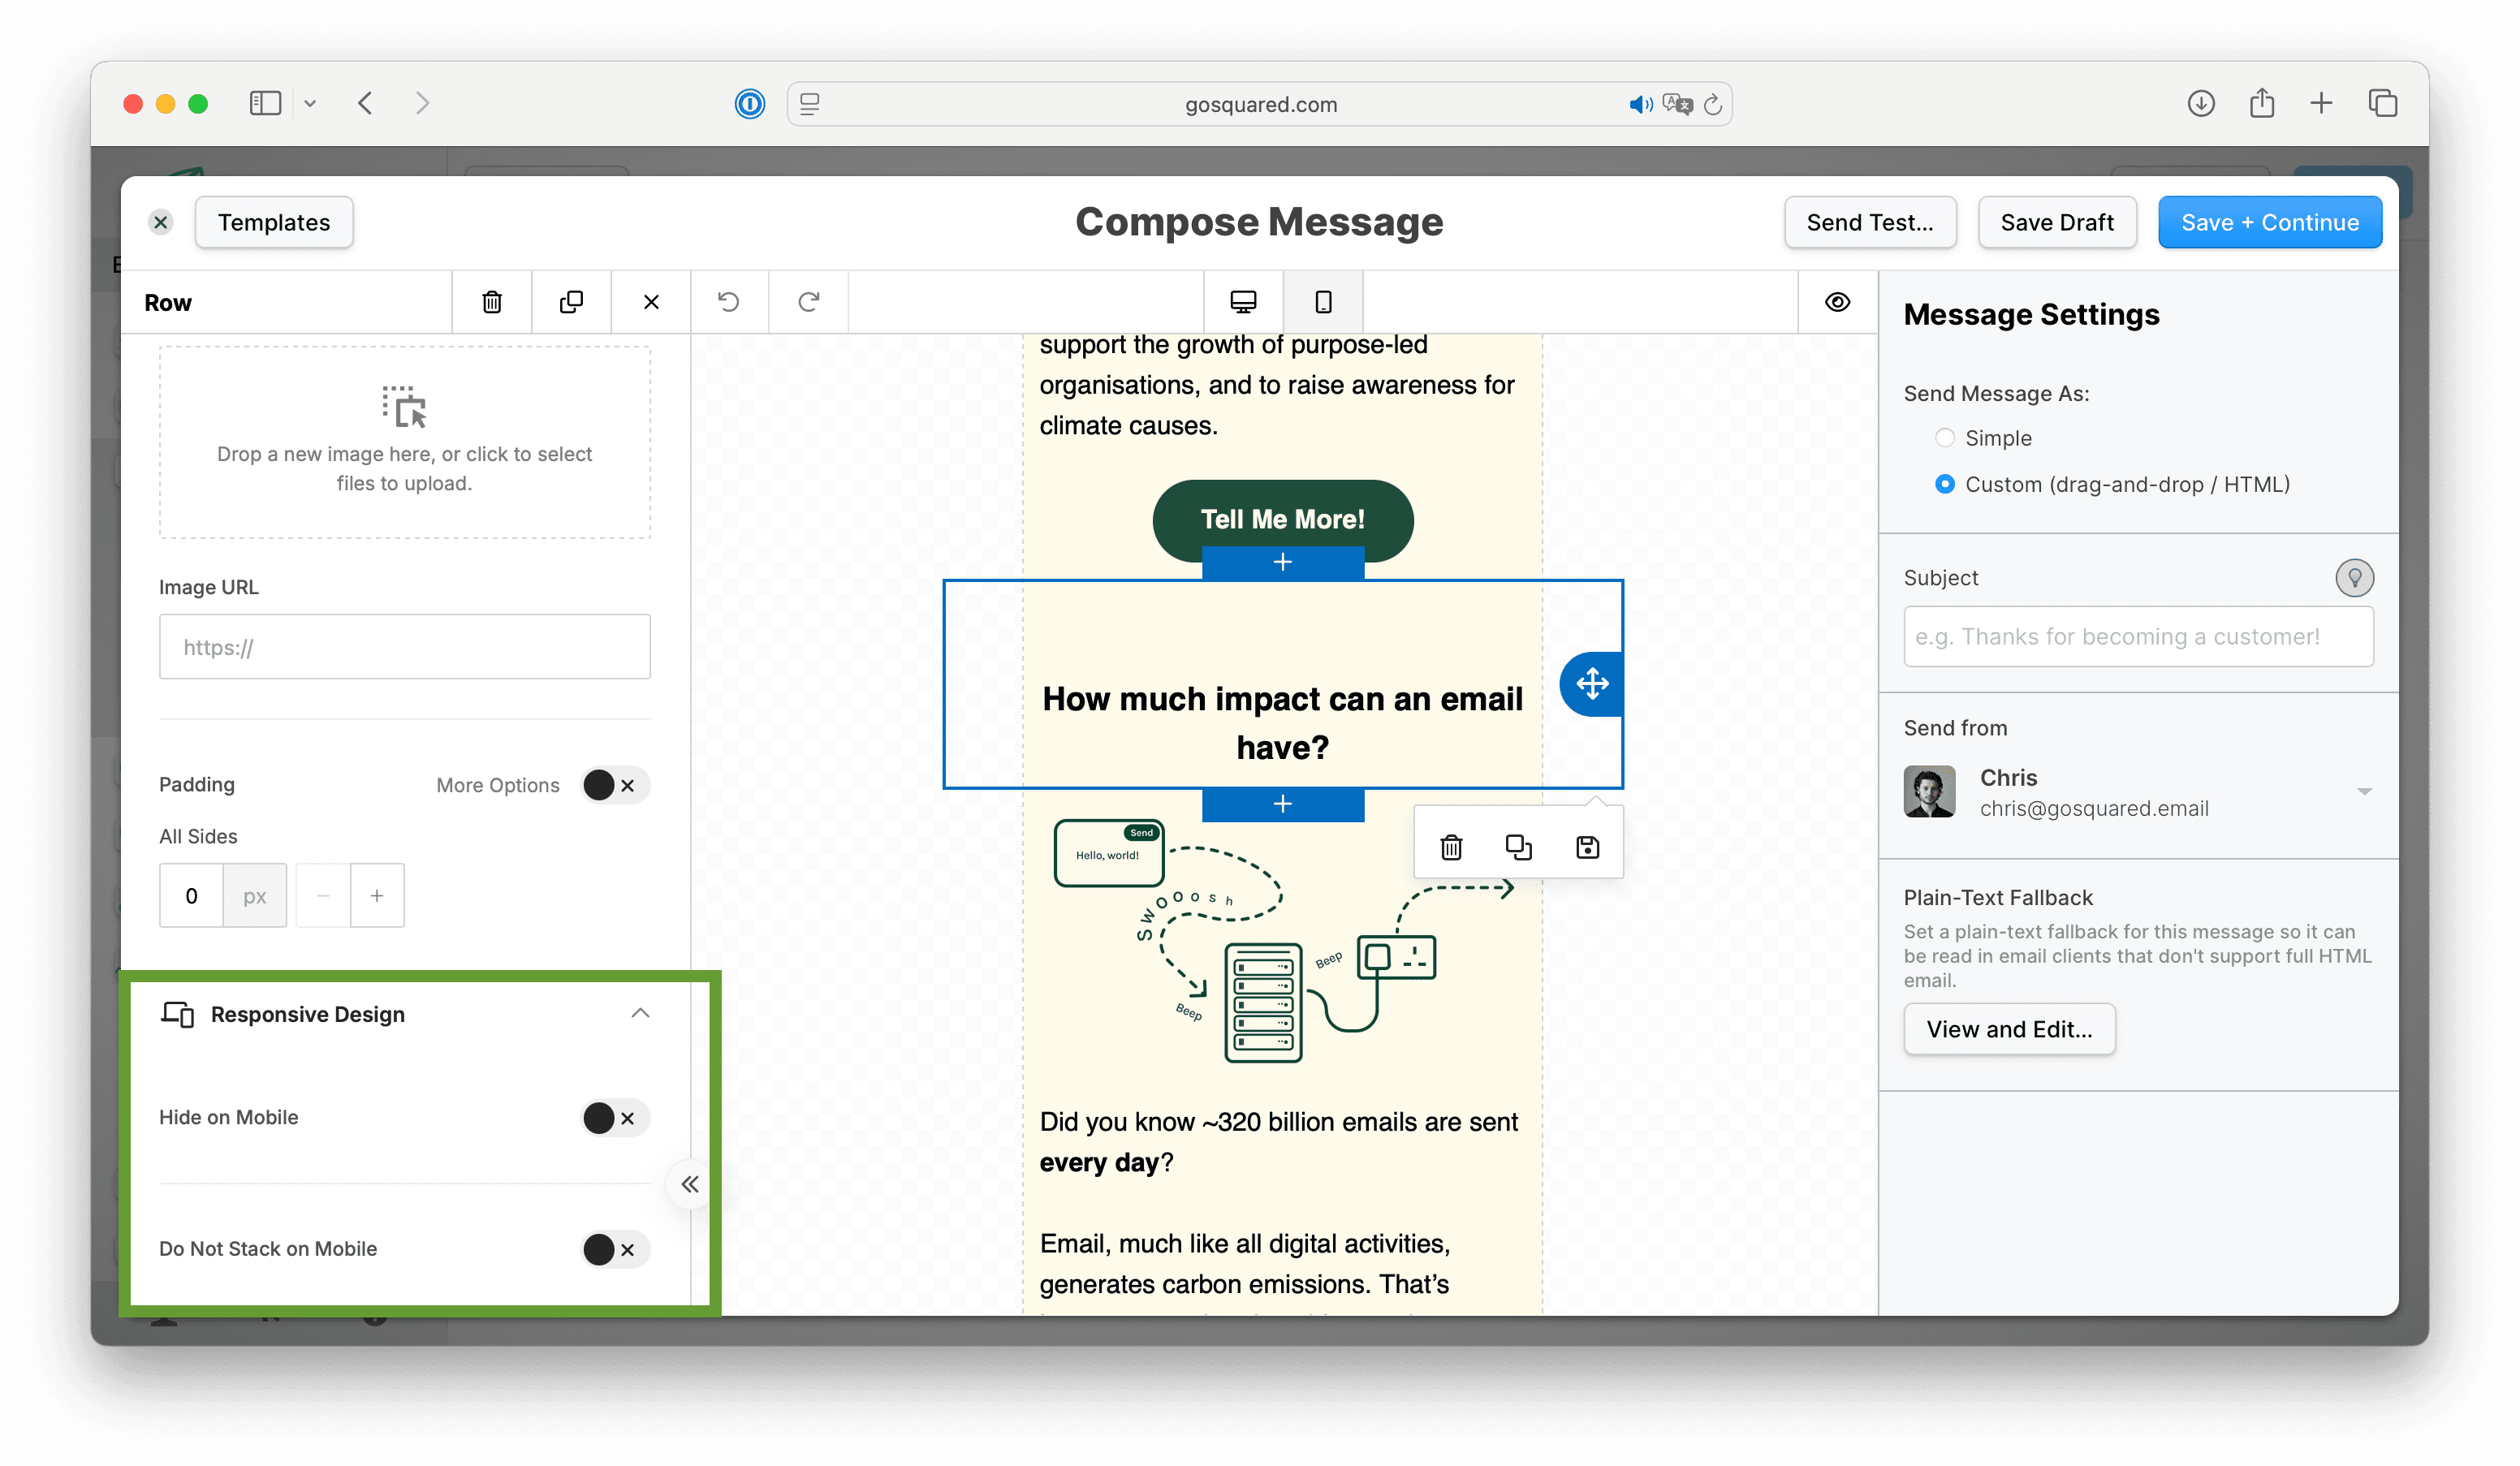
For email best-practice, we always recommend viewing the Mobile version of your campaign, to ensure your content displays correctly for viewers on Mobile devices.
42% of recipients view email on Mobile devices, remember!
Within the Mobile preview, you can also toggle settings for Responsive Design, such as column stacking and/or hiding certain blocks on Mobile.
Update your Sender Profile
Please ensure to update your Sender Profile first, before you send out your first email campaign with EcoSend.
Updating your Sender Profile ensures that your custom email domain is attached to your user profile. If the Sender Profile is not updated, your email campaign will send from the generic 'gosquared.email' domain, which neither your users nor their Inboxes will recognise.
Please click the link here for full instructions on updating your Sender Profile, and ensure to pick the correct profile from the dropdown in your message composer before sending out a campaign:

FAQ
Filtering 'Out of Office' Replies
If you are sending out from an email address to which you can receive replies into an inbox, you may like to consider setting up an inbox rule for managing out of office replies from your campaigns.
For instructions on how to automatically filter out automated replies in Gmail, please view the article here.
For instructions on how to automatically filter out automated replies in Outlook, please view the article here.
My EcoSend Sent and Delivered Numbers do not match
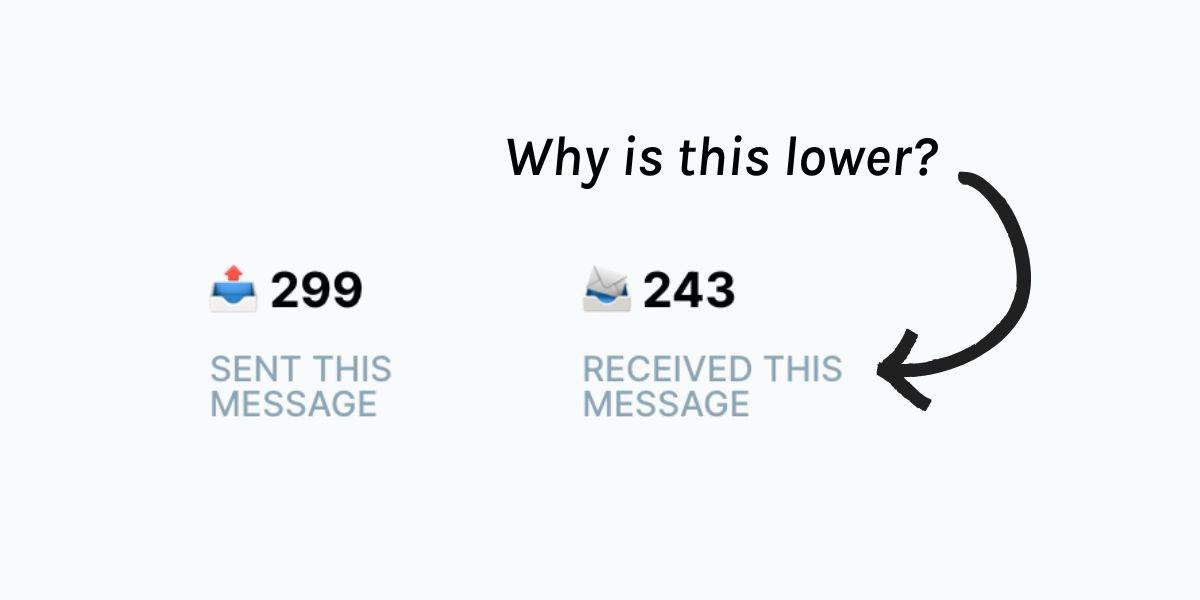
As with all email platforms, not all emails you send will reach the recipient because of:
- Spam filters
- Email bounces
- Recipient server errors
- Greylisting
- Send limits
- User manual actions
If you want to maximise your ROI on email marketing, we recommend taking steps to boost the number of emails received, so that it’s as close to the number of emails you send as possible.
If you need any more help on this topic, we’ve also created this free guide on improving email deliverability.
Can I embed videos in EcoSend campaigns?
We do not currently support video embeds in EcoSend campaigns, as these embeds are not consistenly deployed across major email inboxes, and can result in broken user-experiences for your recipients.
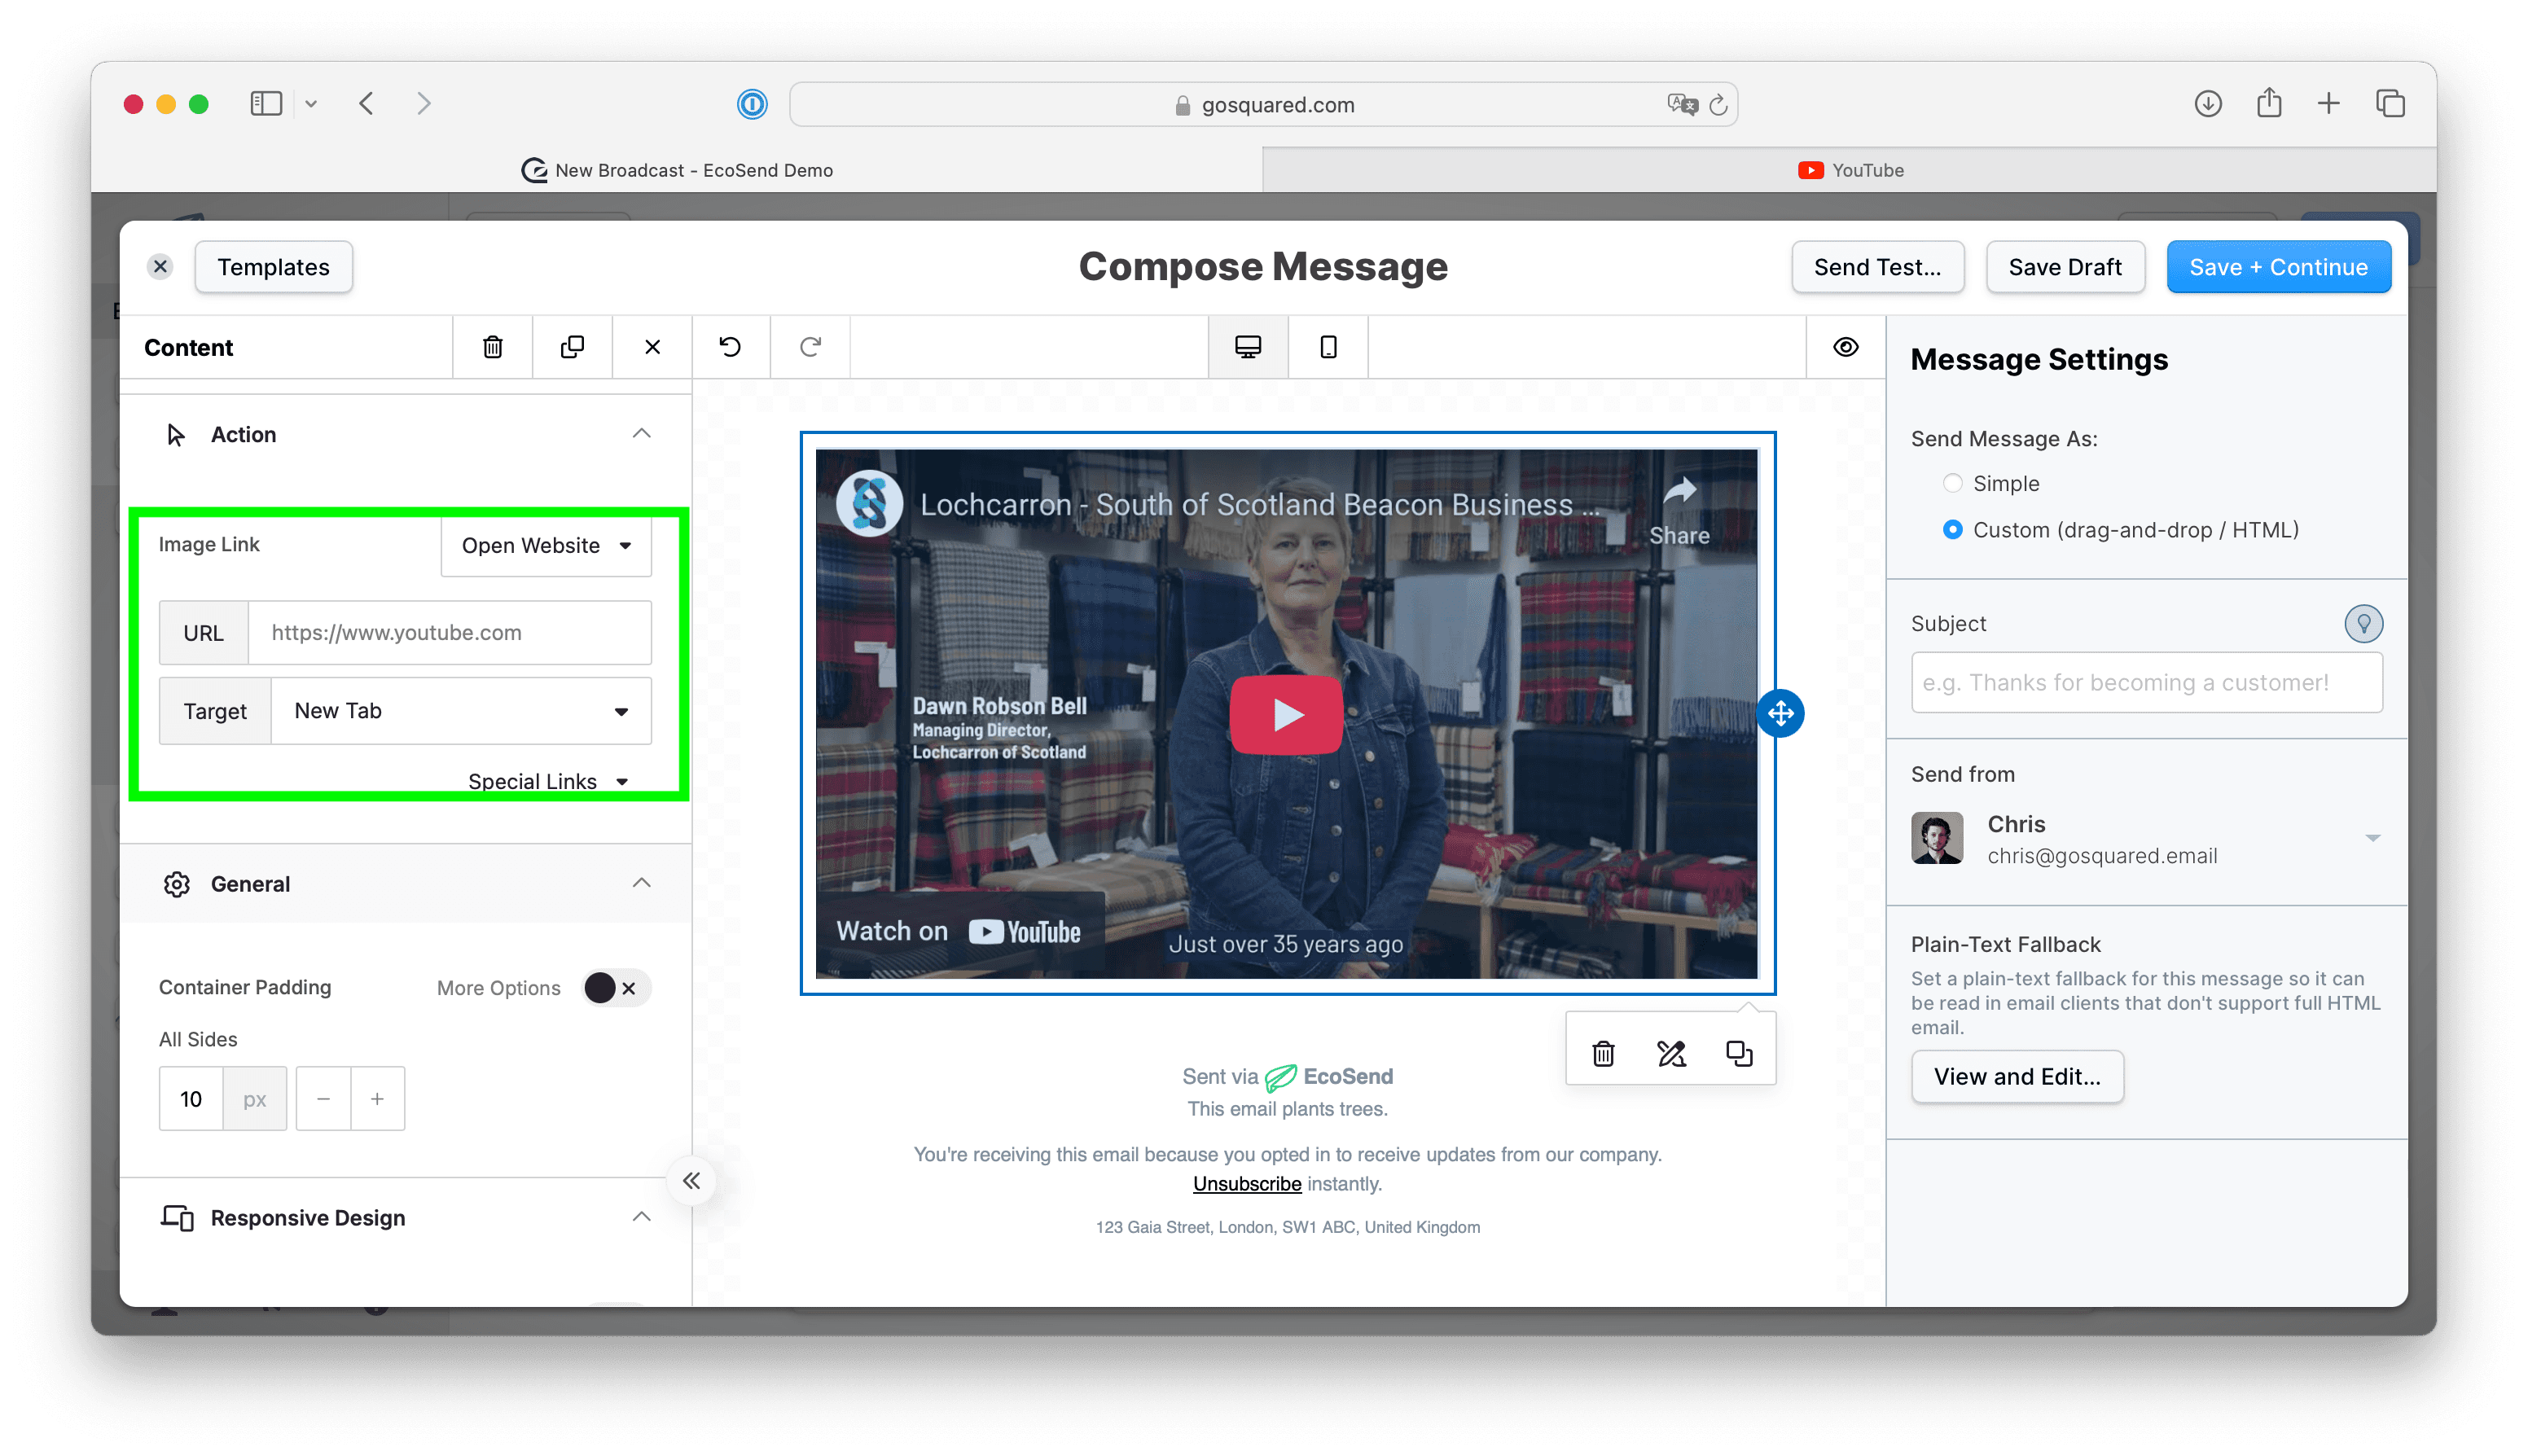
In order to bring attention to videos in your email campaigns, we recommend the process below in the EcoSend drag & drop editor:
- Add a screenshot of each video's thumbnail as an Image
- Click onto the uploaded image, then find Action > Image Link and insert the URL to the relevant video.
This means users will open up a new tab with the video, when they click onto the video screenshot.
Example of an image with an Action URL video link:
Video walkthrough
Last updated May 2026